
Do you have an older ski that still has some nostalgic value to you and you want to put a new boot on it and give it a rip this summer? It is unlikely any binding is going to just “fit” on your slalom ski. But no worries, assuming the core of the ski is not compromised, you can make it work. Old wooden skis that are not rotten are usually fine. Older skis with aluminum top sheet graphics are usually fine as well. If you have old combo skis, or foam cores or ceramic skis, we do not recommend you install new boots on it. Please be safe! You do not want your boot to come ripping off the ski while you are in mid cut behind the boat, so ensure the ski you are doing the install on is structurally sound!
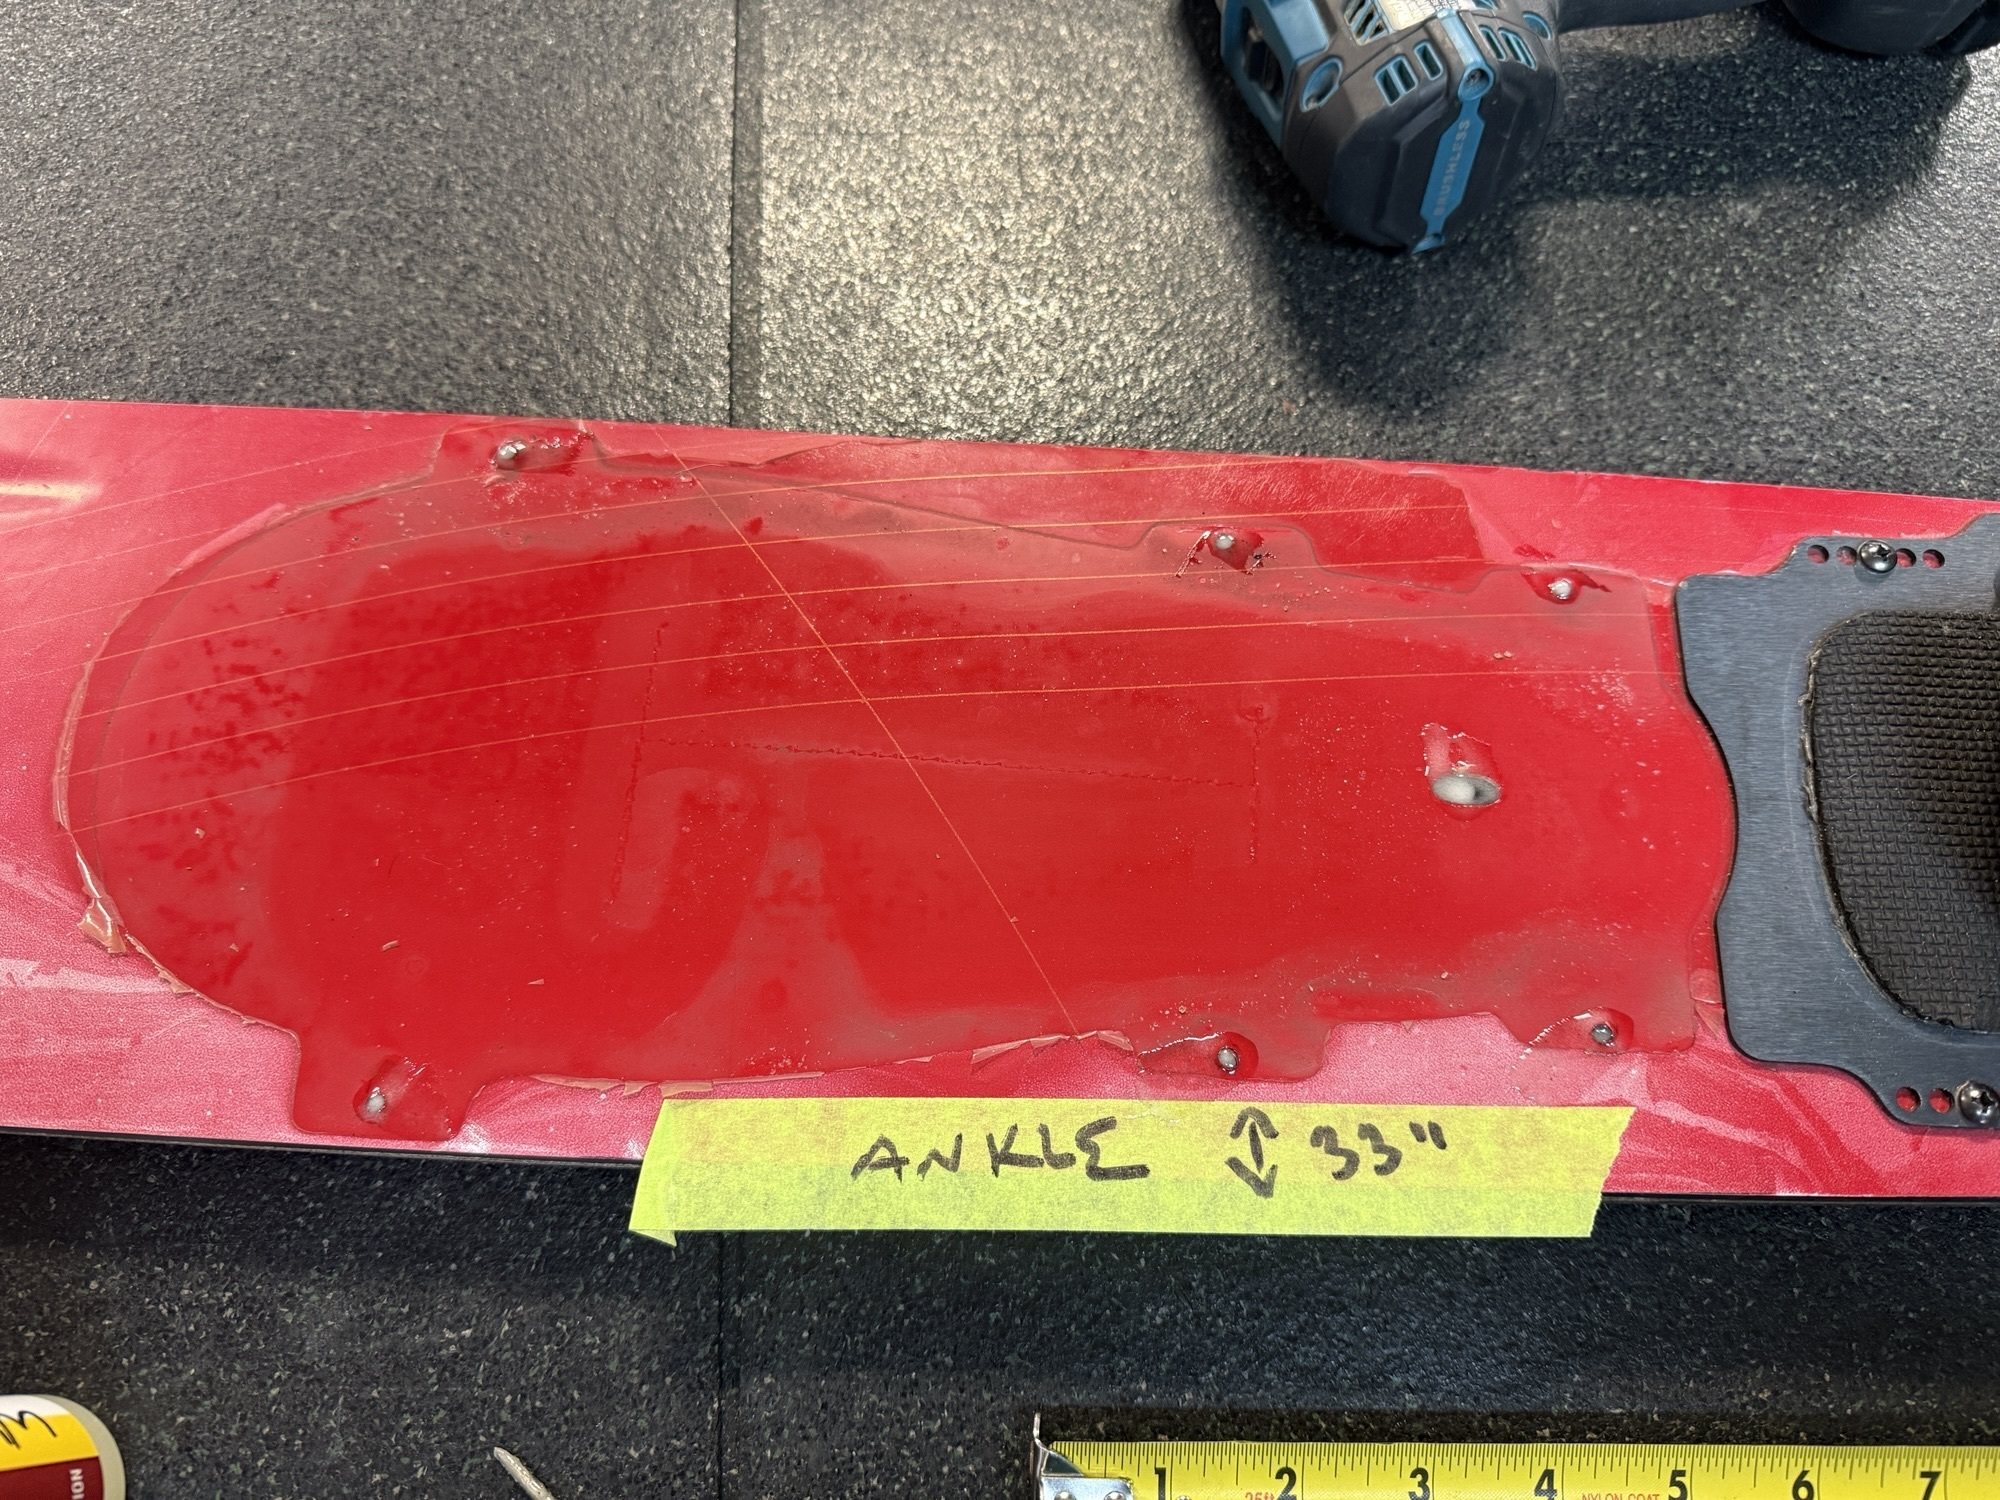
You will have to fill in the old binding screw holes with epoxy and then drill the new binding into place. We do this in store fairly regularly to old skis but at a certain age (and condition of ski…lol) we sometimes find that it may not be safe to do this. Some 30-year-old skis look new, lol… and others have seen a few summers!!
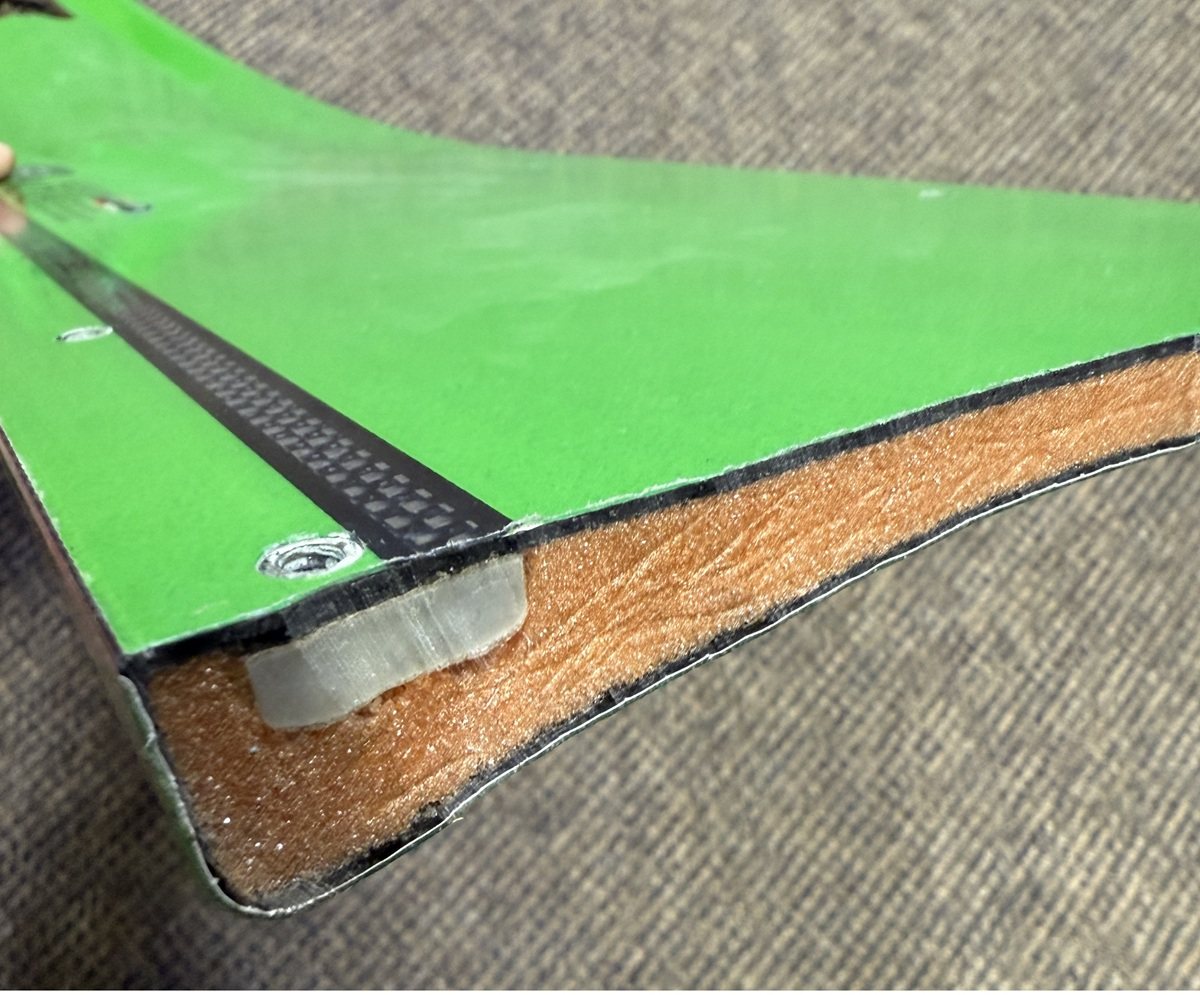
It’s worth mentioning that when the ski is this old there is no guarantee the new bindings will be installed easily on to it. Sometimes the core has gone a bit soft over the test of time and perhaps with a bit of water inside of it. Remember how water affects... everything? Even waterskis will get water logged eventually! I say this right off the bat because there is a good chance your old ski has been getting water inside of it over time. When a customer brings a ski into our store that is more than 25+ years old, we generally decline to work on it for safety reasons. We do not want you to get hurt and there is a chance that the new screws you put in will just pull out on the first couple passes you ski. So, with, PLEASE BE CAREFUL!!!
I wouldn’t put inserts in an old ski for that above reason, putting inserts in is a lot more work and the result will more than likely be the same. The new screws will either hold, or they won’t. New skis have reinforcement blocks inside the core where the insert sits to give it additional structural integrity. As your ski does not have those blocks in it you would just be drilling inserts into the foam core of the ski and a much larger hole than just a screw. See this below photo for an example of an insert block laid into the core of the ski, under the carbon fibre wrap. Very strong!
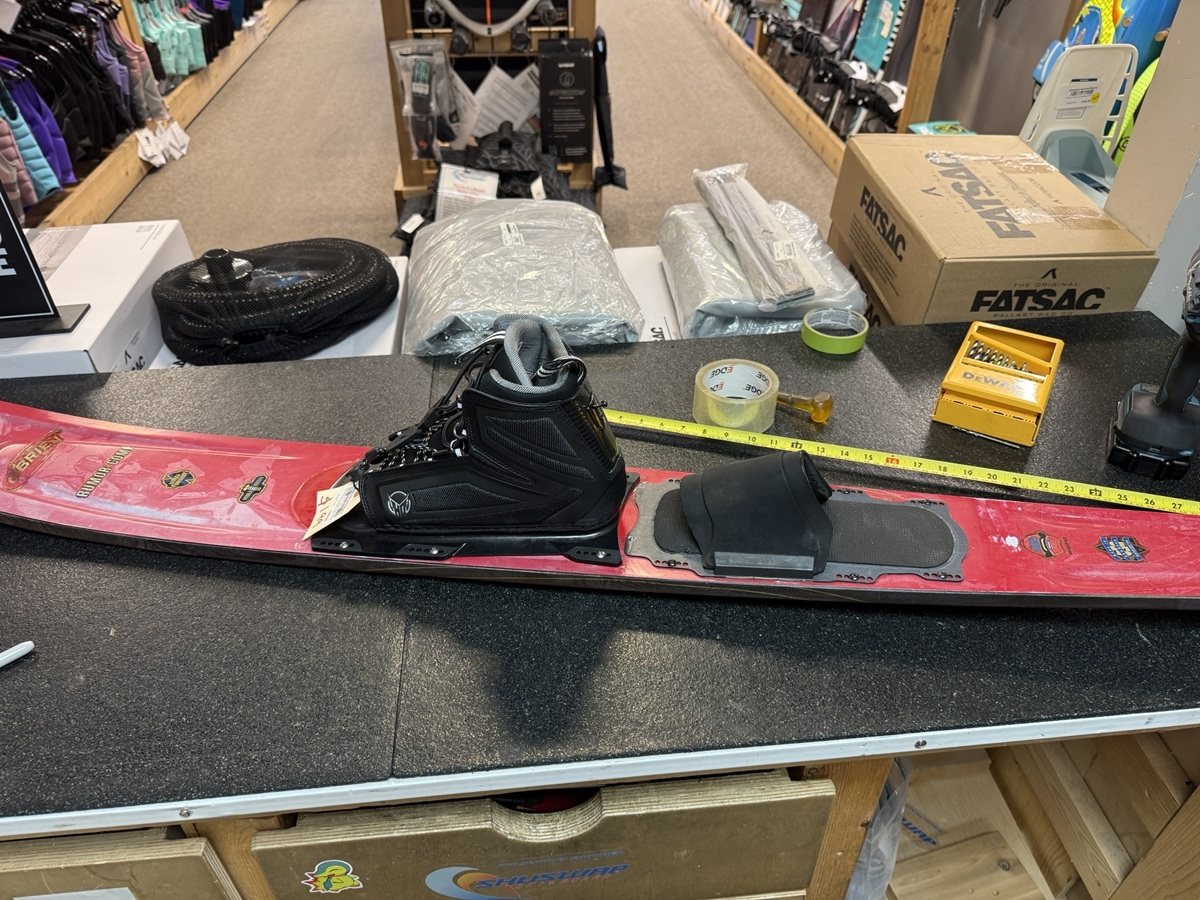
Some of the gear you will need to do this is
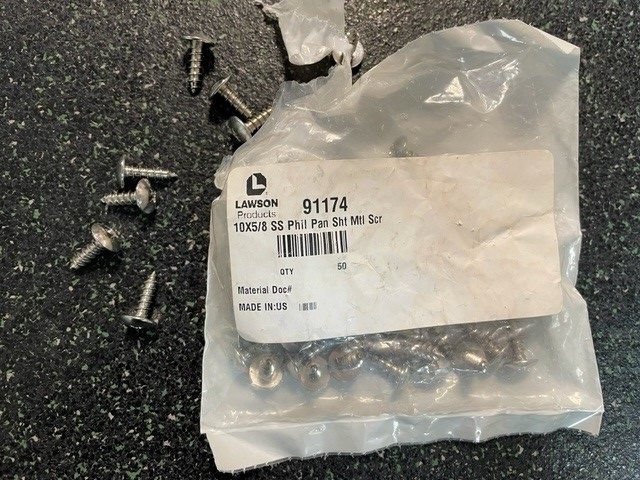
- Screws - size 10 x 5/8 (base plate thickness and ski thickness can change this length of screw… but this is the most commonly used in store)
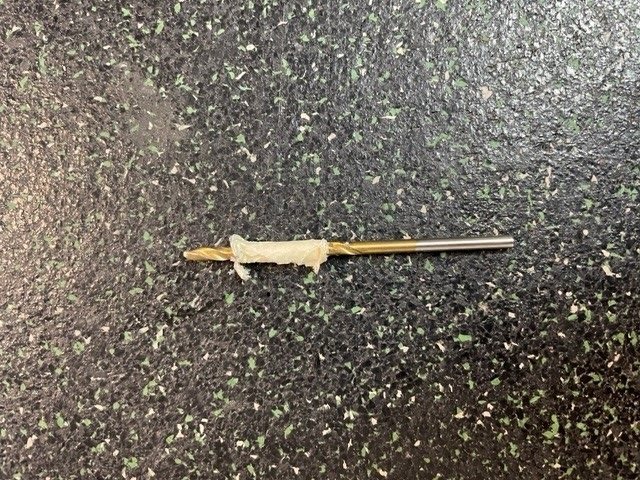
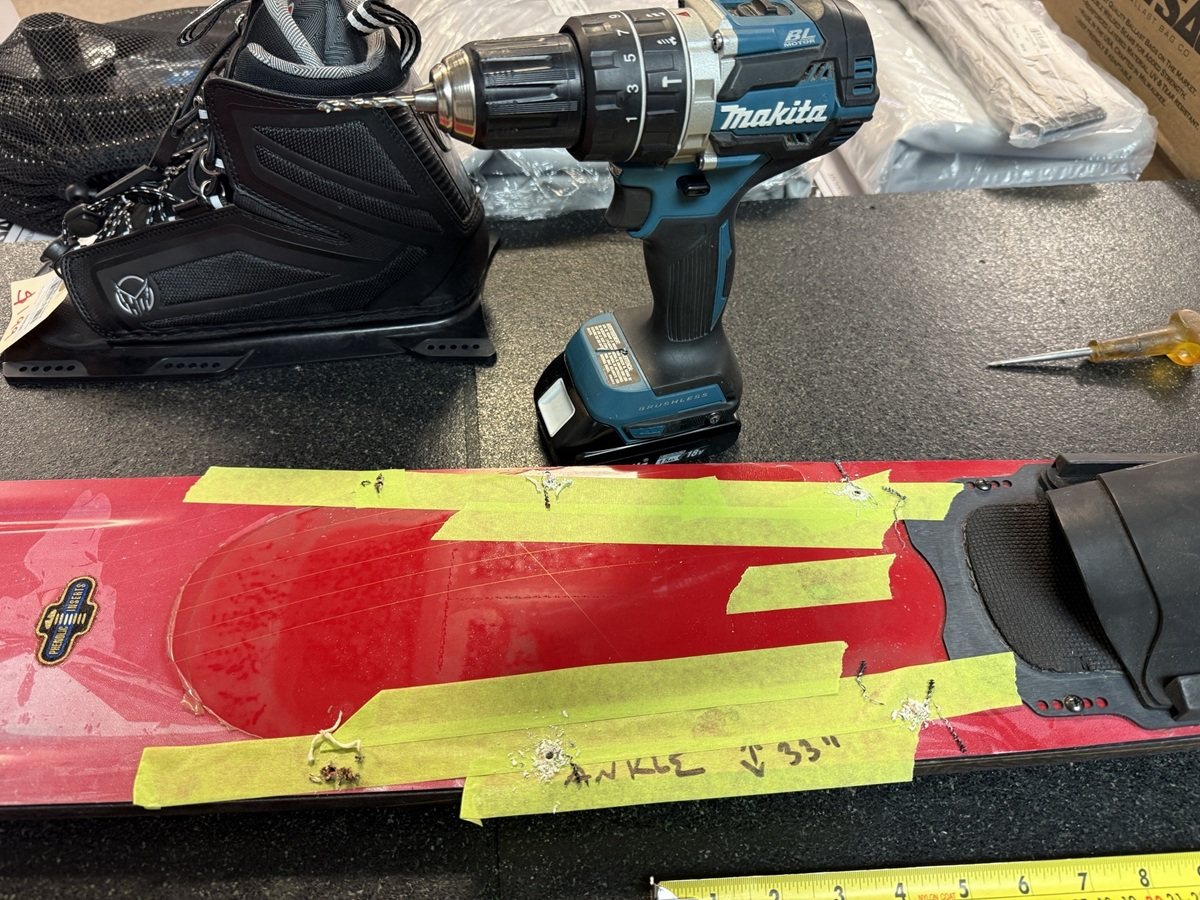
- Drill bit - size 7/64 (notice how I tape it off in my photo to avoid drilling too deep)
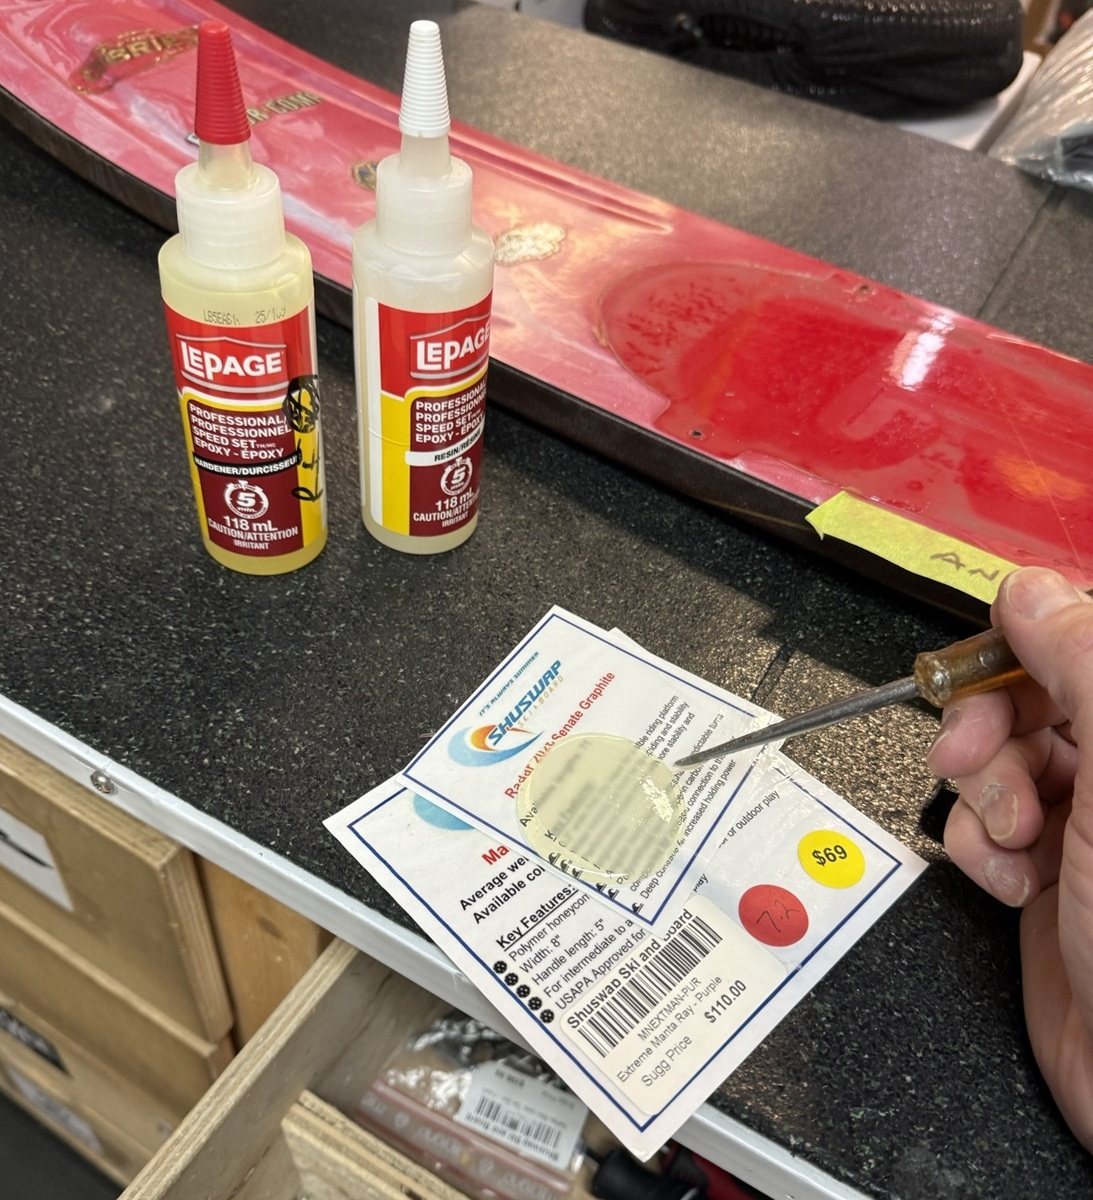
- Epoxy - two-part quick set (we like Lepage or JB Weld, I could probably write a blog post about epoxy by itself as I use some over others, depending on the type of job I am doing but two part quick set stuff will get this job done and is found at any hardware store)
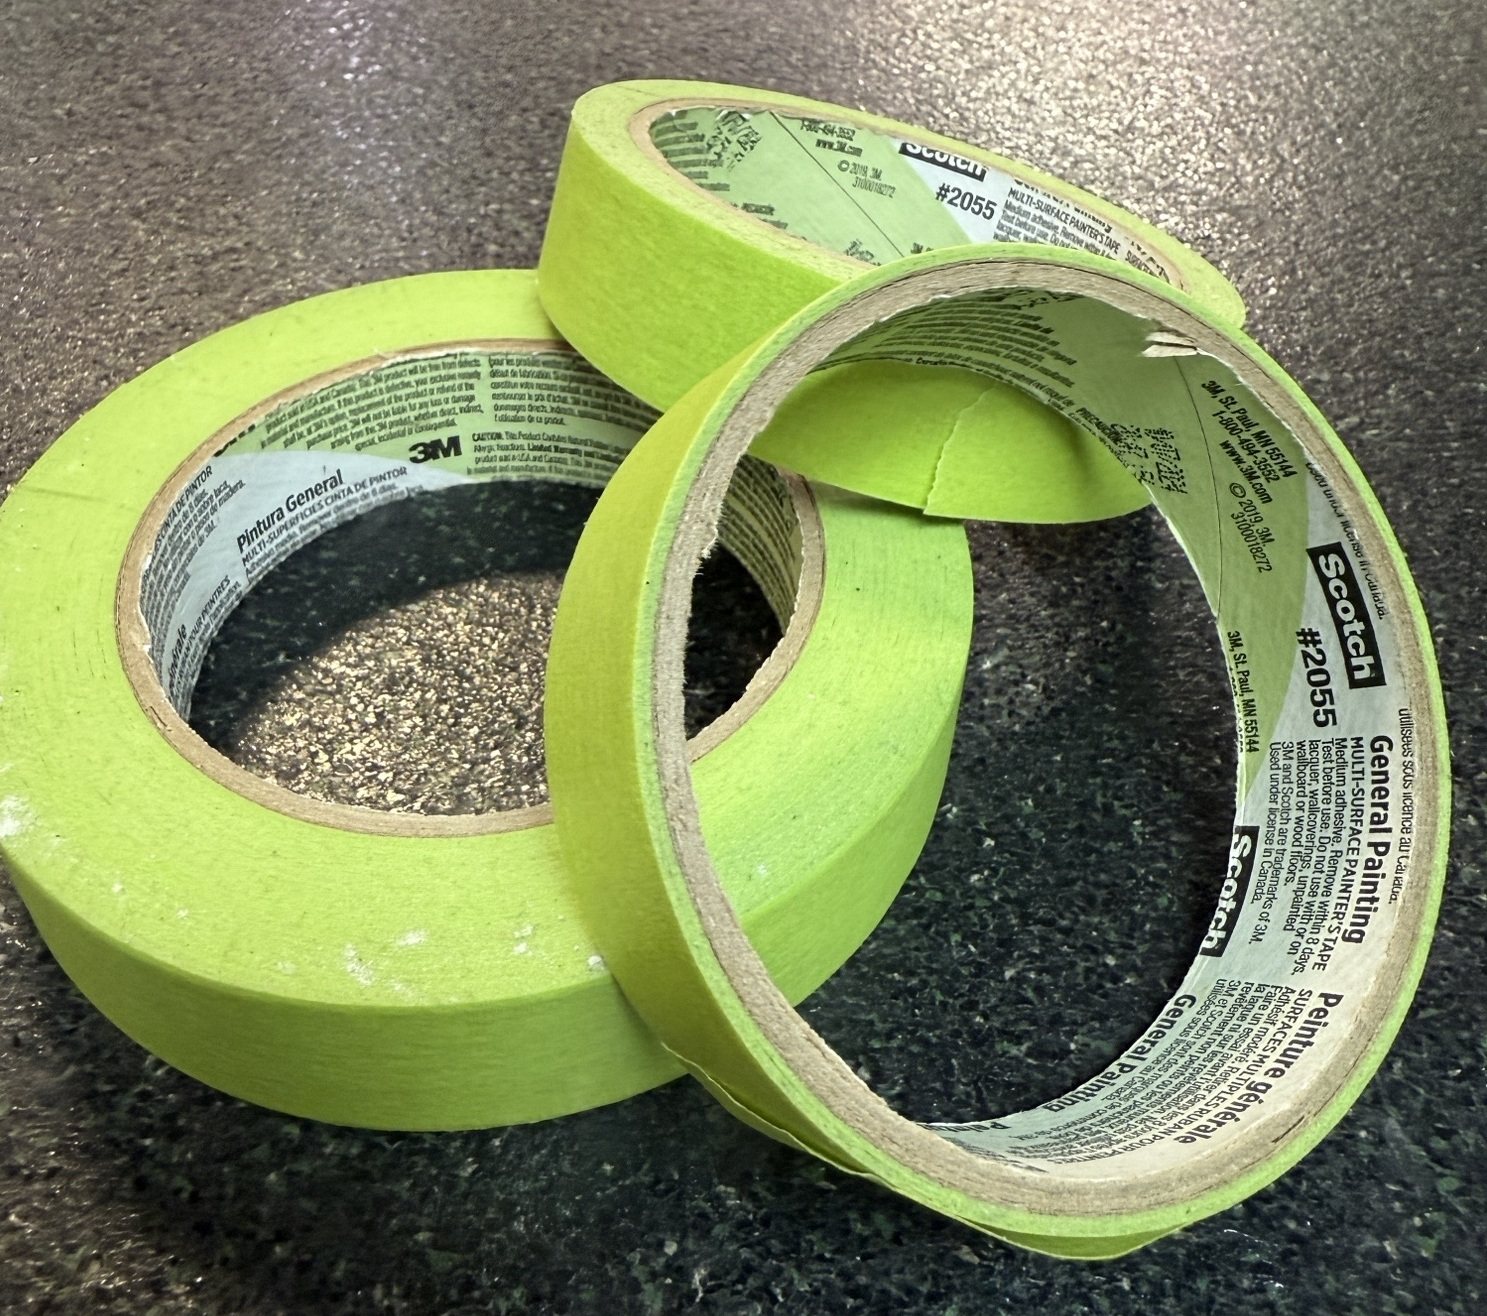
- Masking tape (if they made it in blue and orange, I would buy that but this ugly green will have to do!)
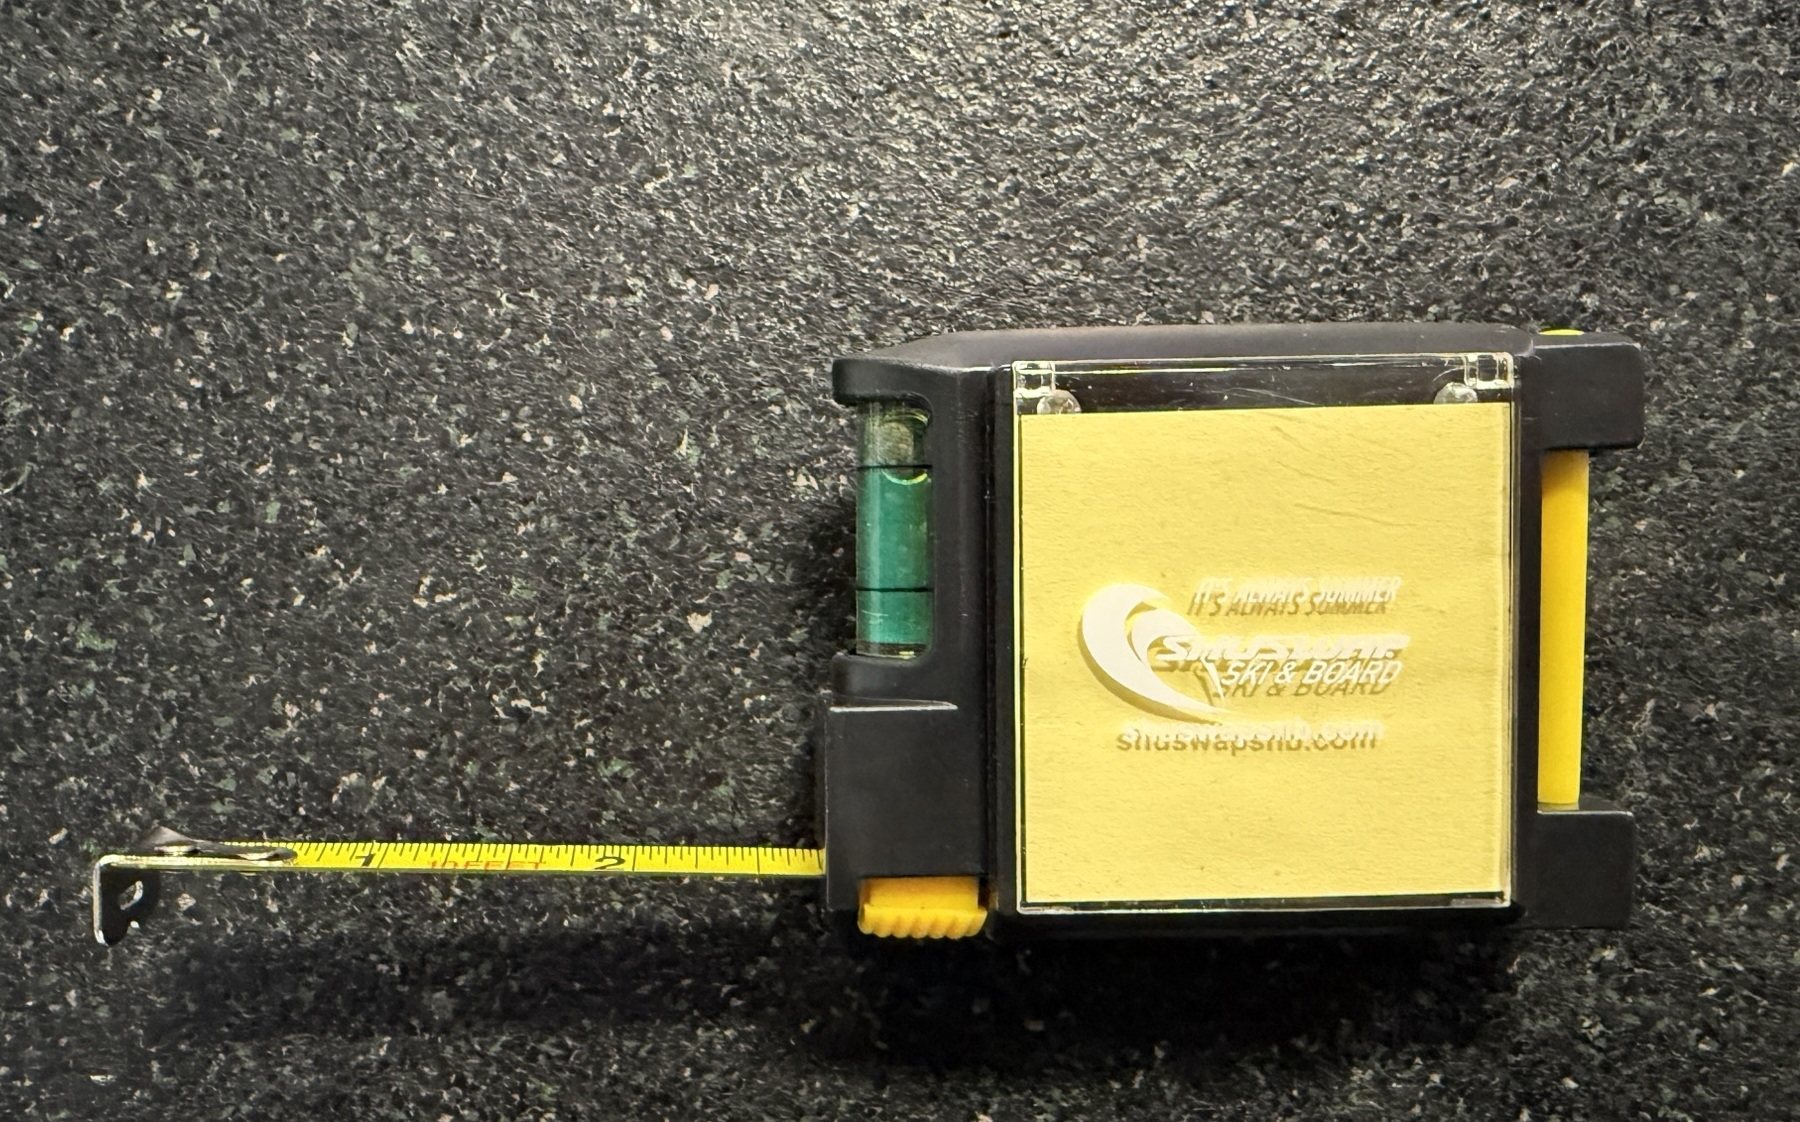
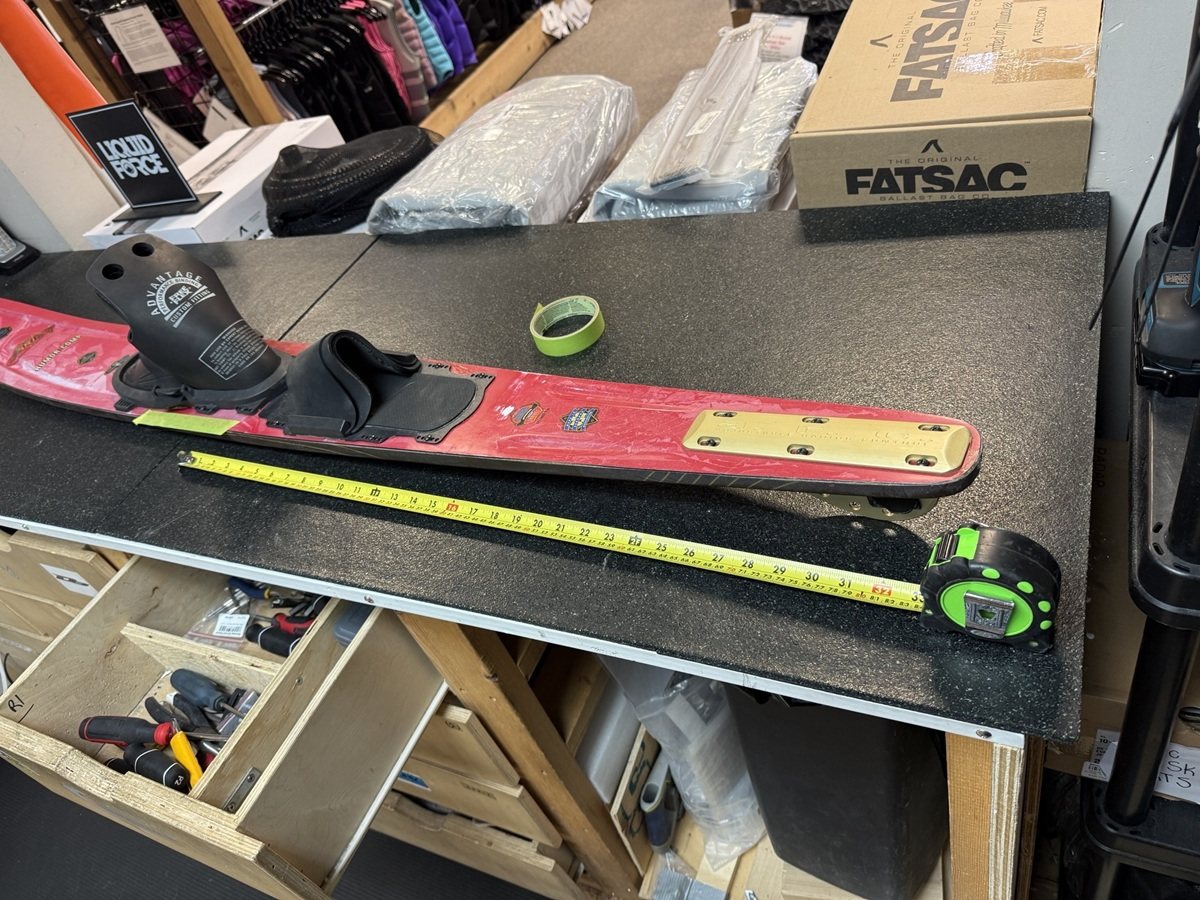
- Tape measure (limited edition Shuswap Ski & Board version of course!)

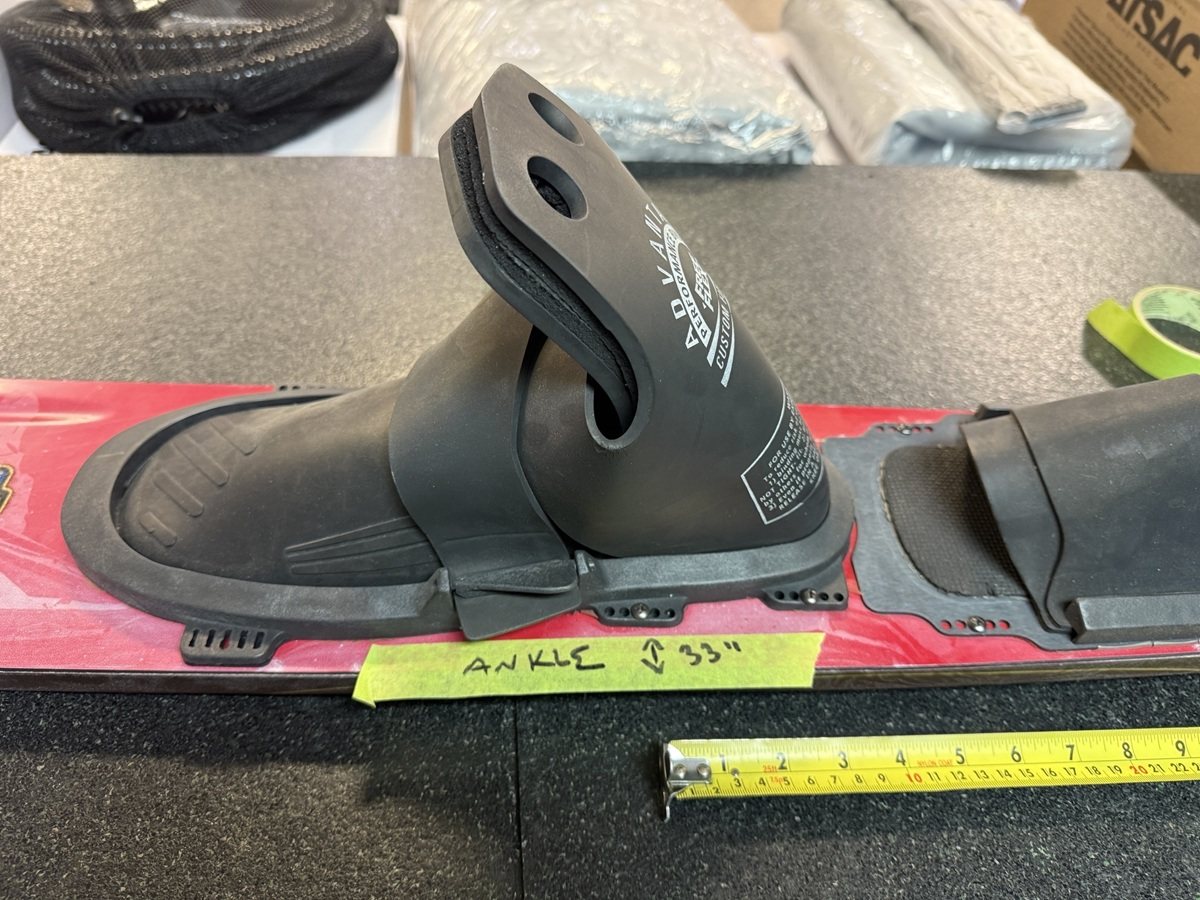
Measure from the ankle bone of the old binding to the tail of the ski and write that number down (probably 28-31 inches if the ski is a 67”, but this is an educated guess… measure it out!)
Remove the old bindings and fill all the old holes with two-part epoxy. Let set for an hour or so you’re not working with a sticky mess
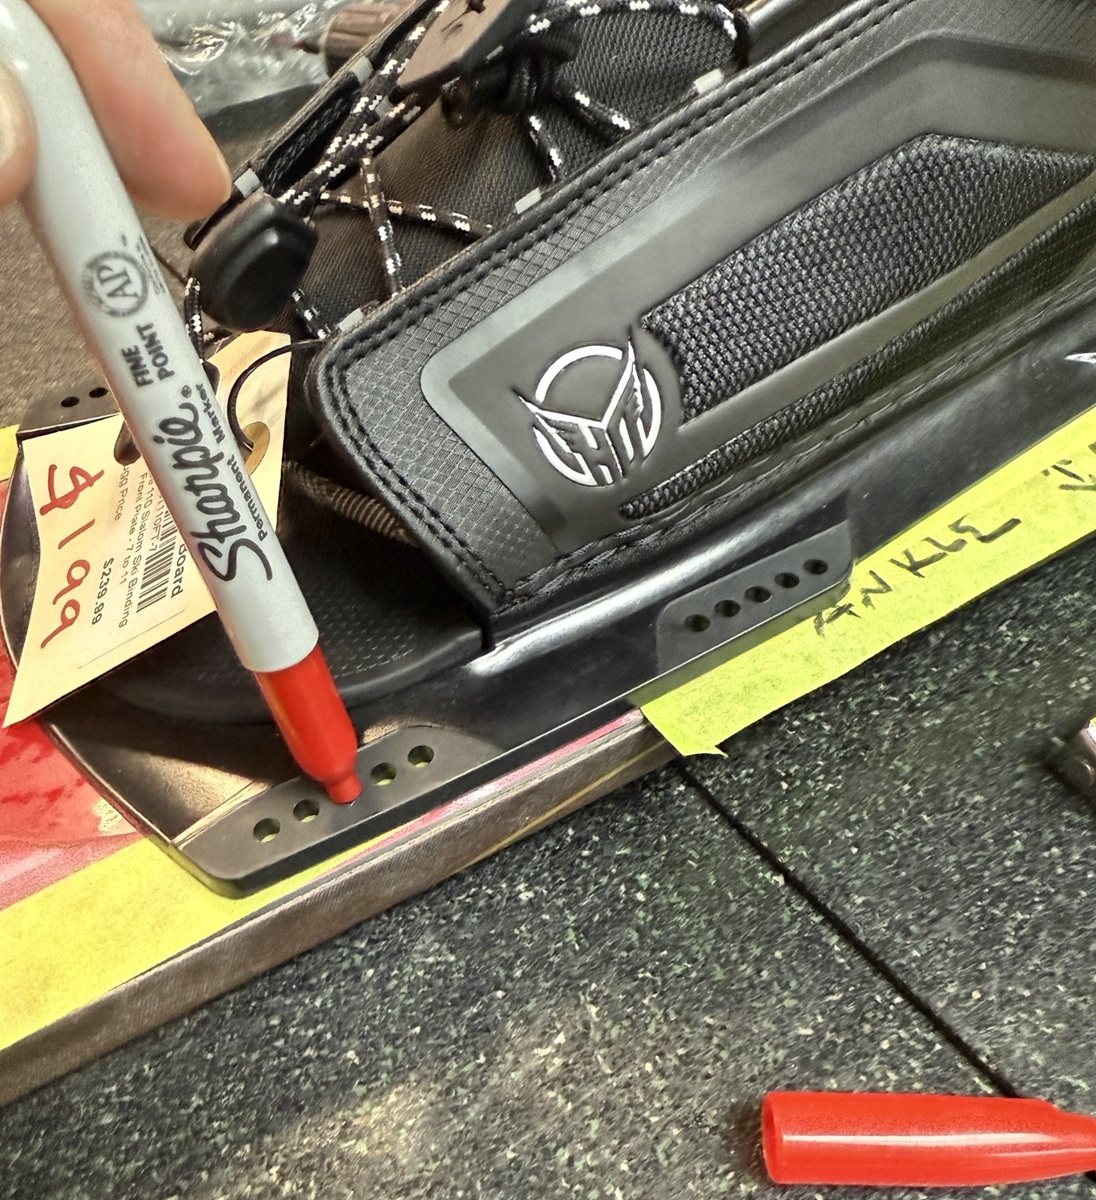
Put the new front binding down on the ski with masking tape below the base plate where you plan on drilling new holes. Then measure out the ankle bone of the new binding and try to put it in that same measurement you just took down from step 1. The main goal is to centre your stance over the ski the same position as your old bindings. If you drill holes too far back or too far forward the ski may turn a bit funny when you ride. Use a thin marker or pen to mark off the bindings hole pattern on the masking tape. Move the new bindings out of the way after the base plate hole pattern has been marked accurately.
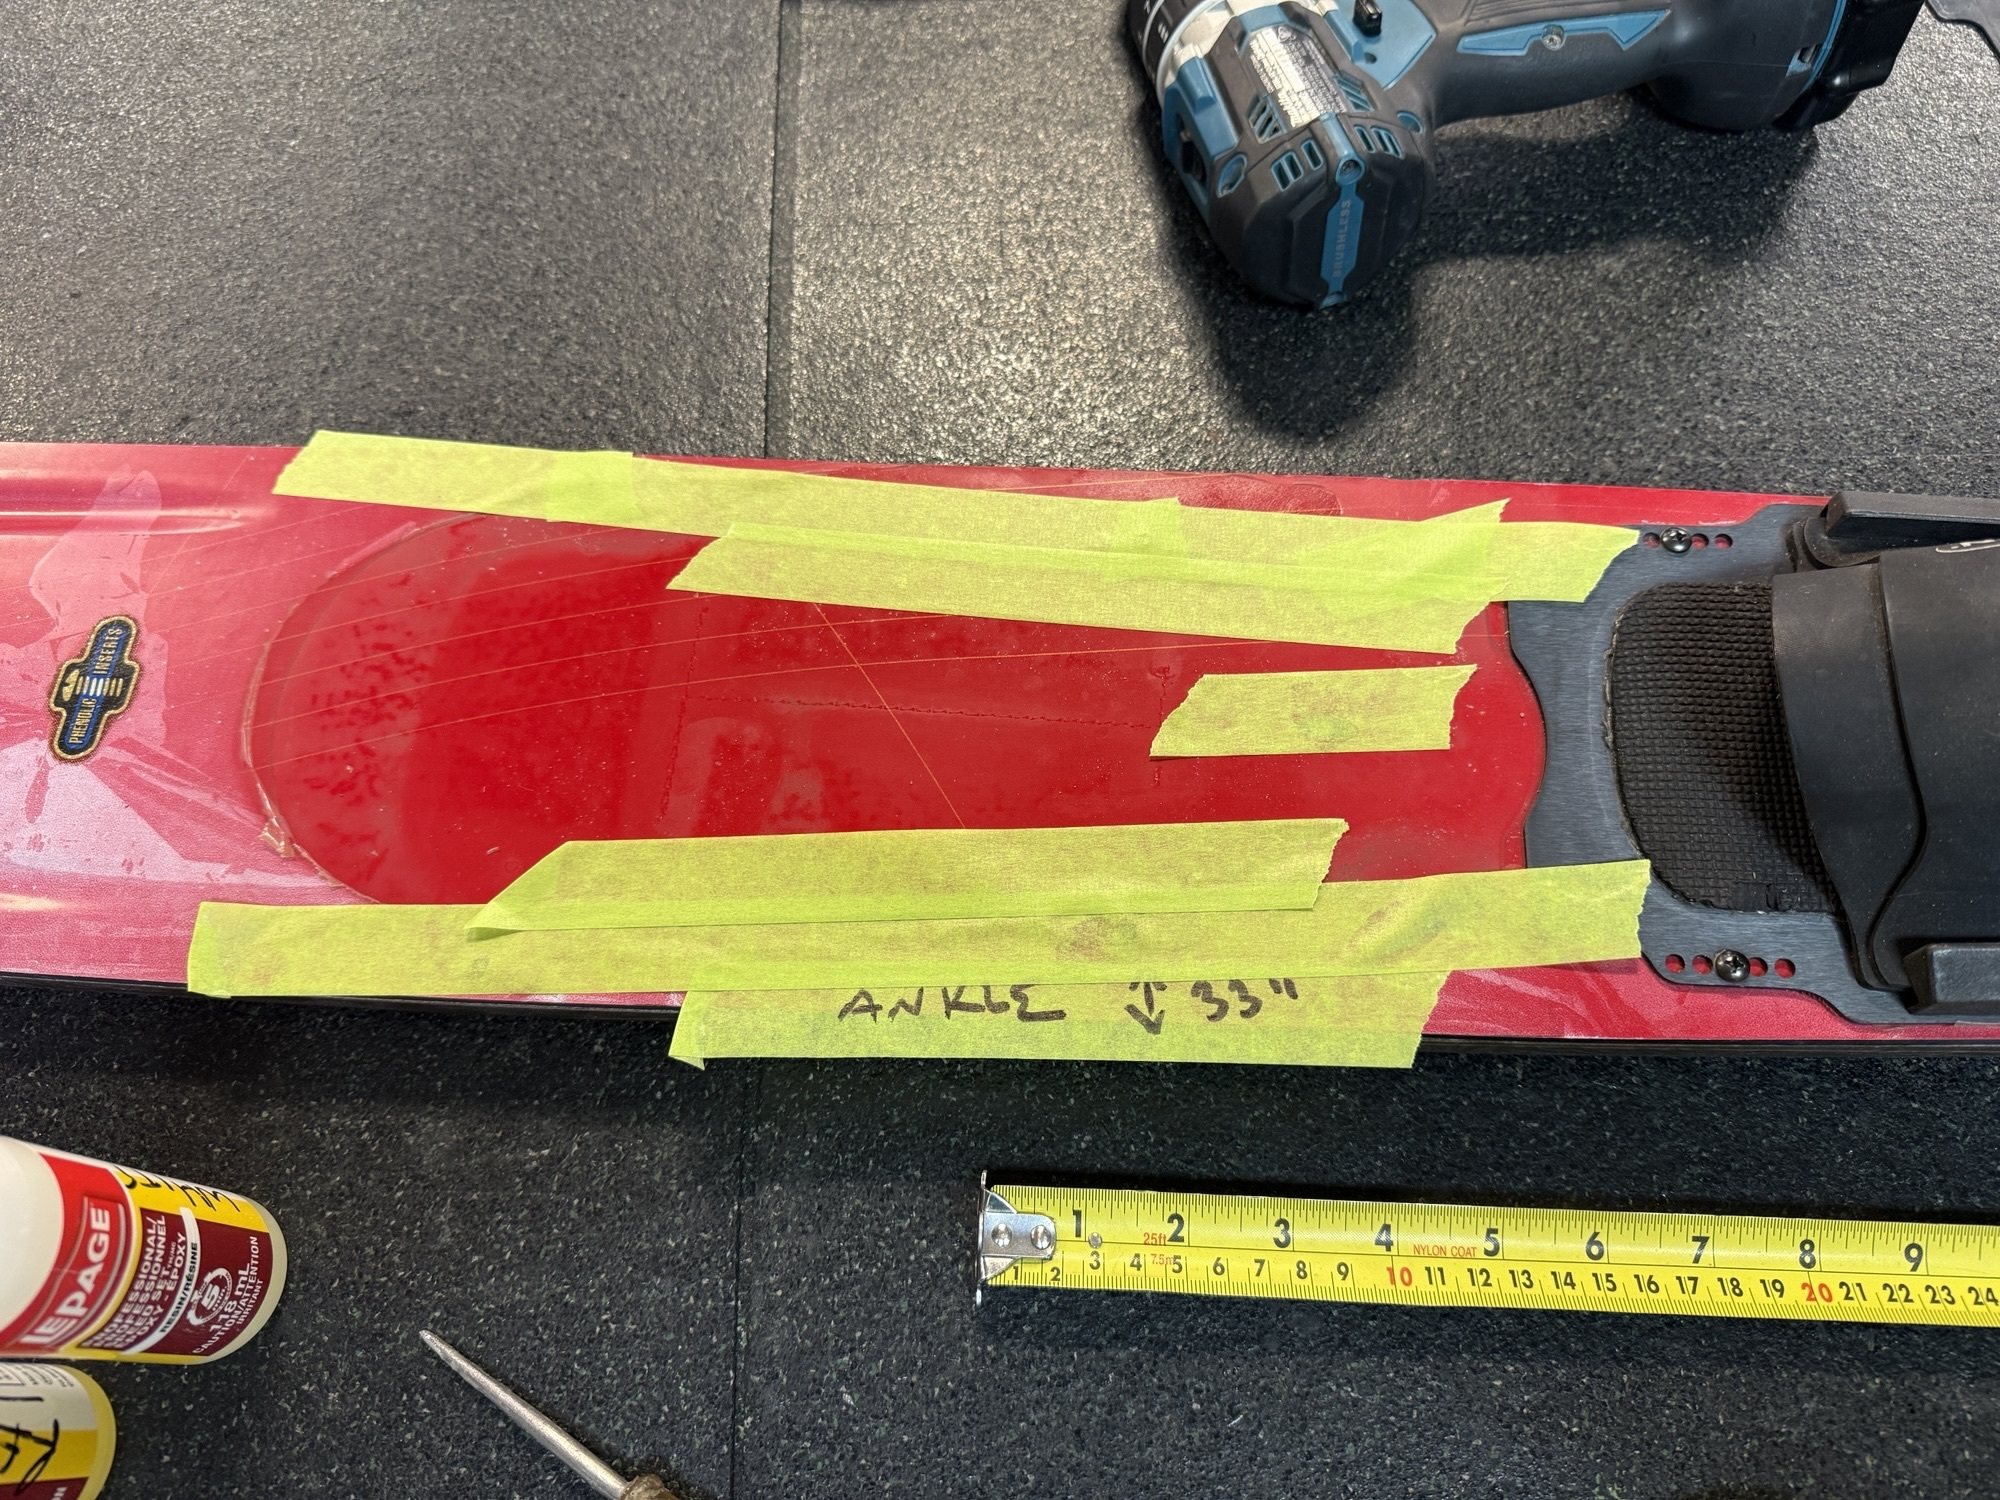
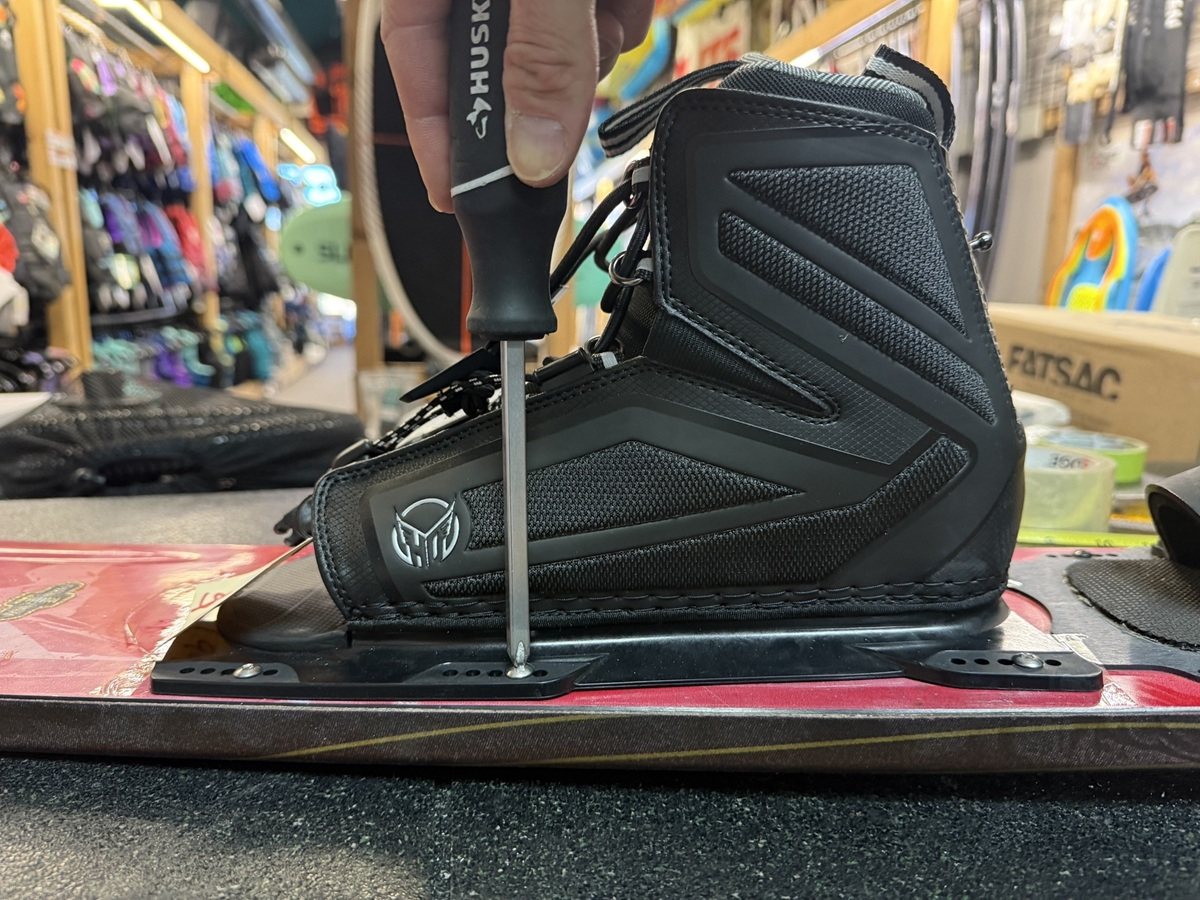
Use a very small pilot drill bit 7/64 and tape off the end to avoid drilling too deep. Drill out your new base plate markings
Line up the bindings and put the screws in using a #2 Phillips hand driver (not a drill!) so that you can feel if the screws are catching or if they are just spinning inside the core. You should be able to cinch the screws down nice and tight. No need to over torque but they should be hand tight and the base plate should mount flush without gapping so that water doesn’t enter the new holes easily.
CHECK YOUR NEW SCREWS RELIGIOUSLY. EVERY. TIME. YOU. SKI. We recommend keeping a #2 Phillips in your ski bag all the time!
Thanks for reading! Ski ya later!
andrew@shuswapsnb.com or 1-866-955-0917