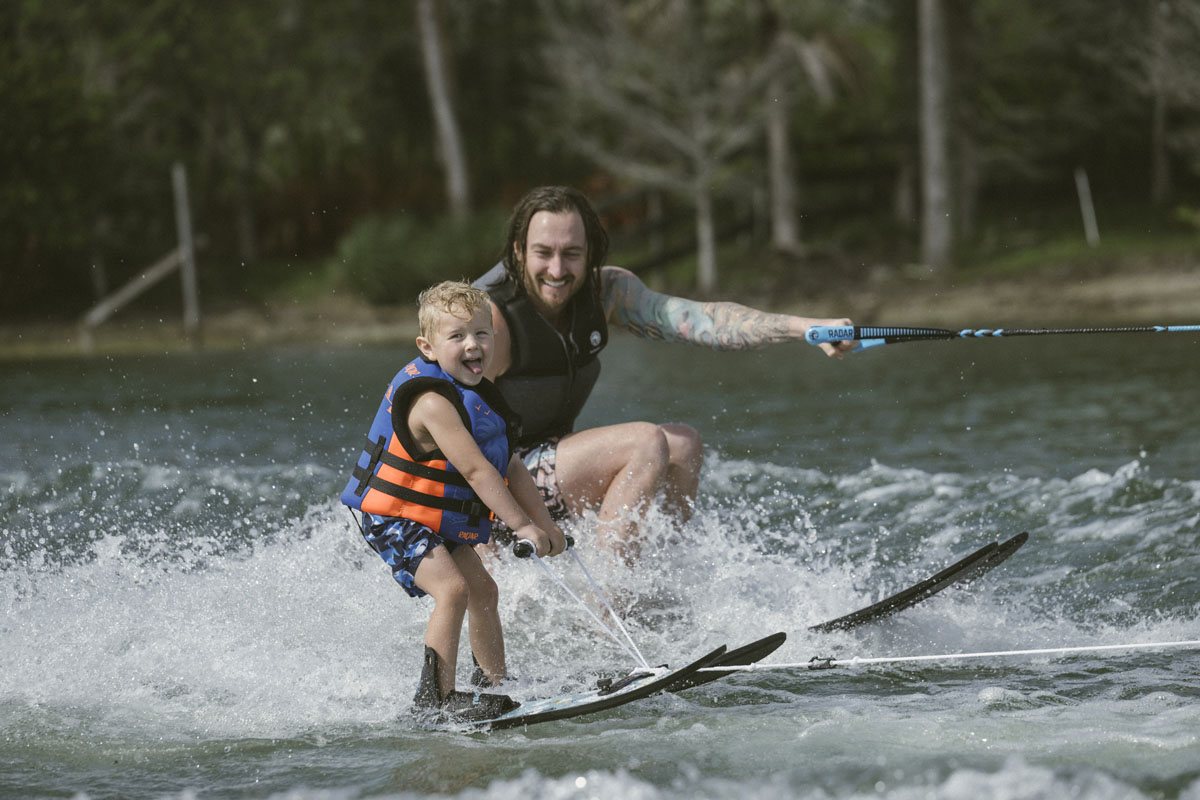
Beginner Two-Ski (Combo Ski) Coaching Techniques
A skier's very first experience on water skis will be remembered for a long time and the memory of that first experience will affect their future water-skiing experiences. This is the most important lesson you will ever teach. It is critical to do all you can to make this a successful and enjoyable experience for everyone you teach to ski.
This chapter will outline techniques for teaching two ski skills. By the end of this chapter, you will be able to:
- Teach a beginner to get up on two skis.
- Recognize and correct common problems of beginner skiers.
- Describe and use assist methods with skiers having difficulty getting up.
- Teach a beginner to cross the wakes.
- Set up and use a boom as a teaching device.
Before starting the lesson, it is helpful to get an idea of your skiers athletic ability by asking questions about their participation in other sports and activities. This information should not form a basis for your lesson, but it will allow you to relate water skiing to these other activities and perhaps put an apprehensive beginner at ease.
Dryland Practice
Dryland practice prior to the first attempt to ski is very important for beginners. The excitement of learning to ski will make your student keen to listen. While dry and warm the skier is in the best frame of mind to listen and absorb the information. the opportunity to do many repetitions quickly makes practice on dryland the most efficient way to teach the basics that will be needed for success on the water.
After you have outfitted your skier with their life jacket and fitted the bindings, have them stand on the dock with their equipment on. Your dryland demonstration and practice session should be short, clear, and concise. Introduce the start position, the start process, and the proper skiing position to your student by the demonstration method. Then have them mirror your actions.
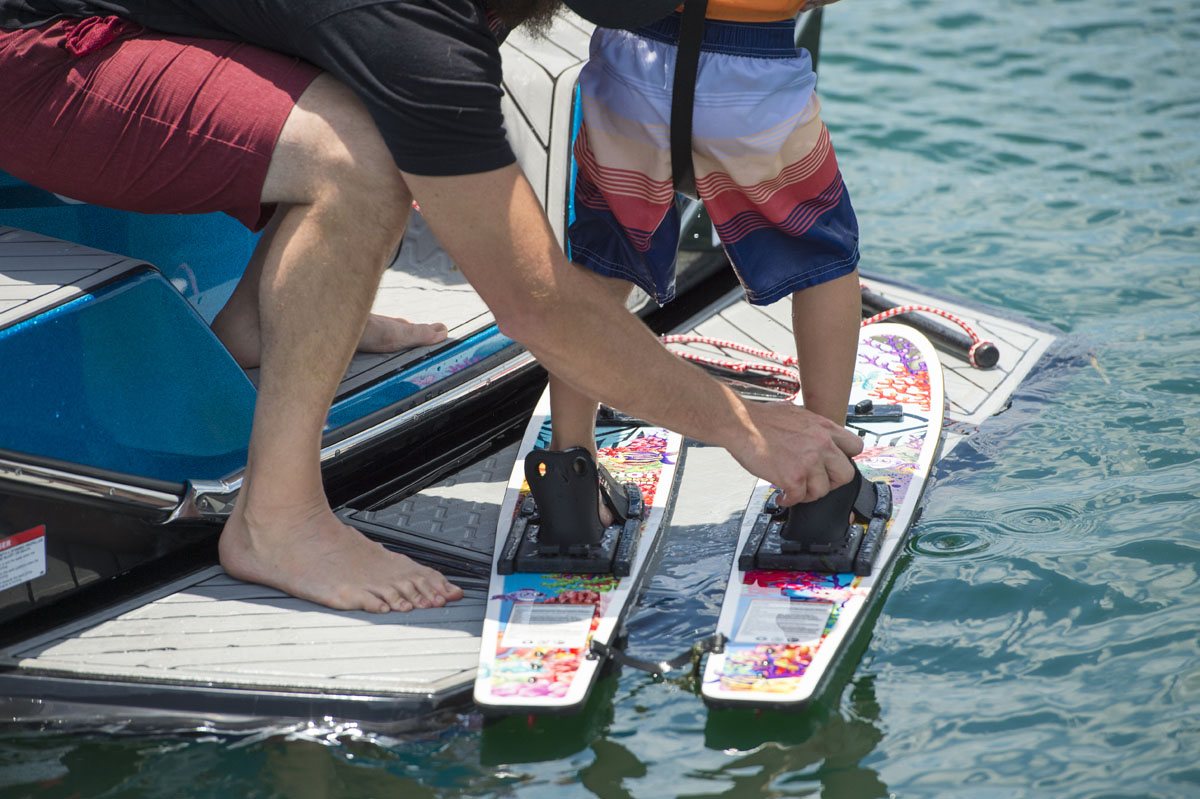
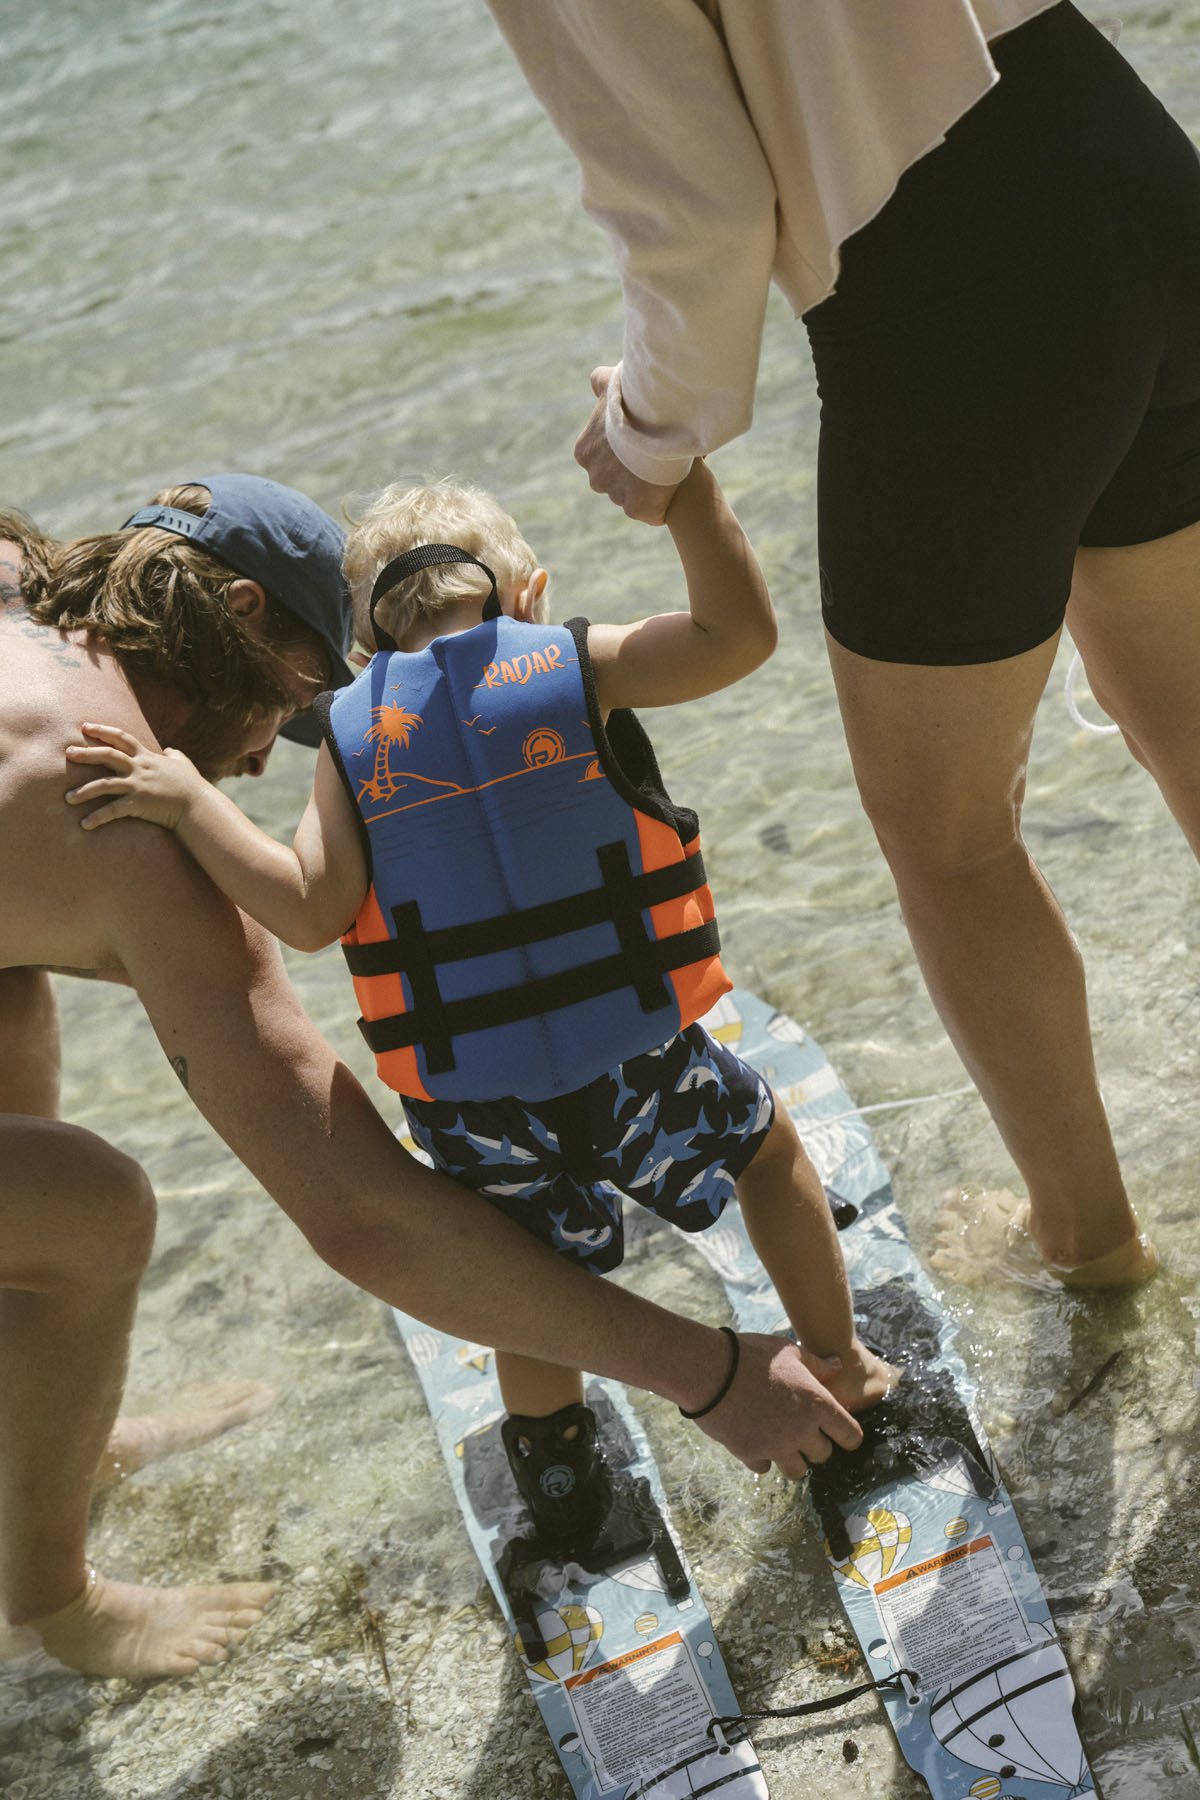
Putting the Bindings On - Explain and demonstrate how to wet the bindings prior to putting them on and the rationale for this (wet foot against wet binding will slide in much easier). By kneeling beside the skier as you help them put the skis on, you can offer them a shoulder to lean on to avoid losing their balance in the process.
Step 1. The skier should hold the heel of the binding to one side so that it is flat.
Step 2. Slide their foot into the front binding as far as it will go.
Step 3. Have the skier raise their heel and grasp the heel of the binding with two hands. While pulling up on the heel piece, the skier will step down with their heel to slide into the binding.
Have the skier try to put the bindings on themselves so they will be more comfortable later. If the skis have heel adjust tracks, you can open them all the way and tighten them once the skiers’ feet are in the bindings. This is particularly effective when working with children.
Start Position
Be sure to use the term "start position" and demonstrate it clearly. Once the skier is in the water you want to be able to refer to the start position with the expectation that your student knows what you are talking about.
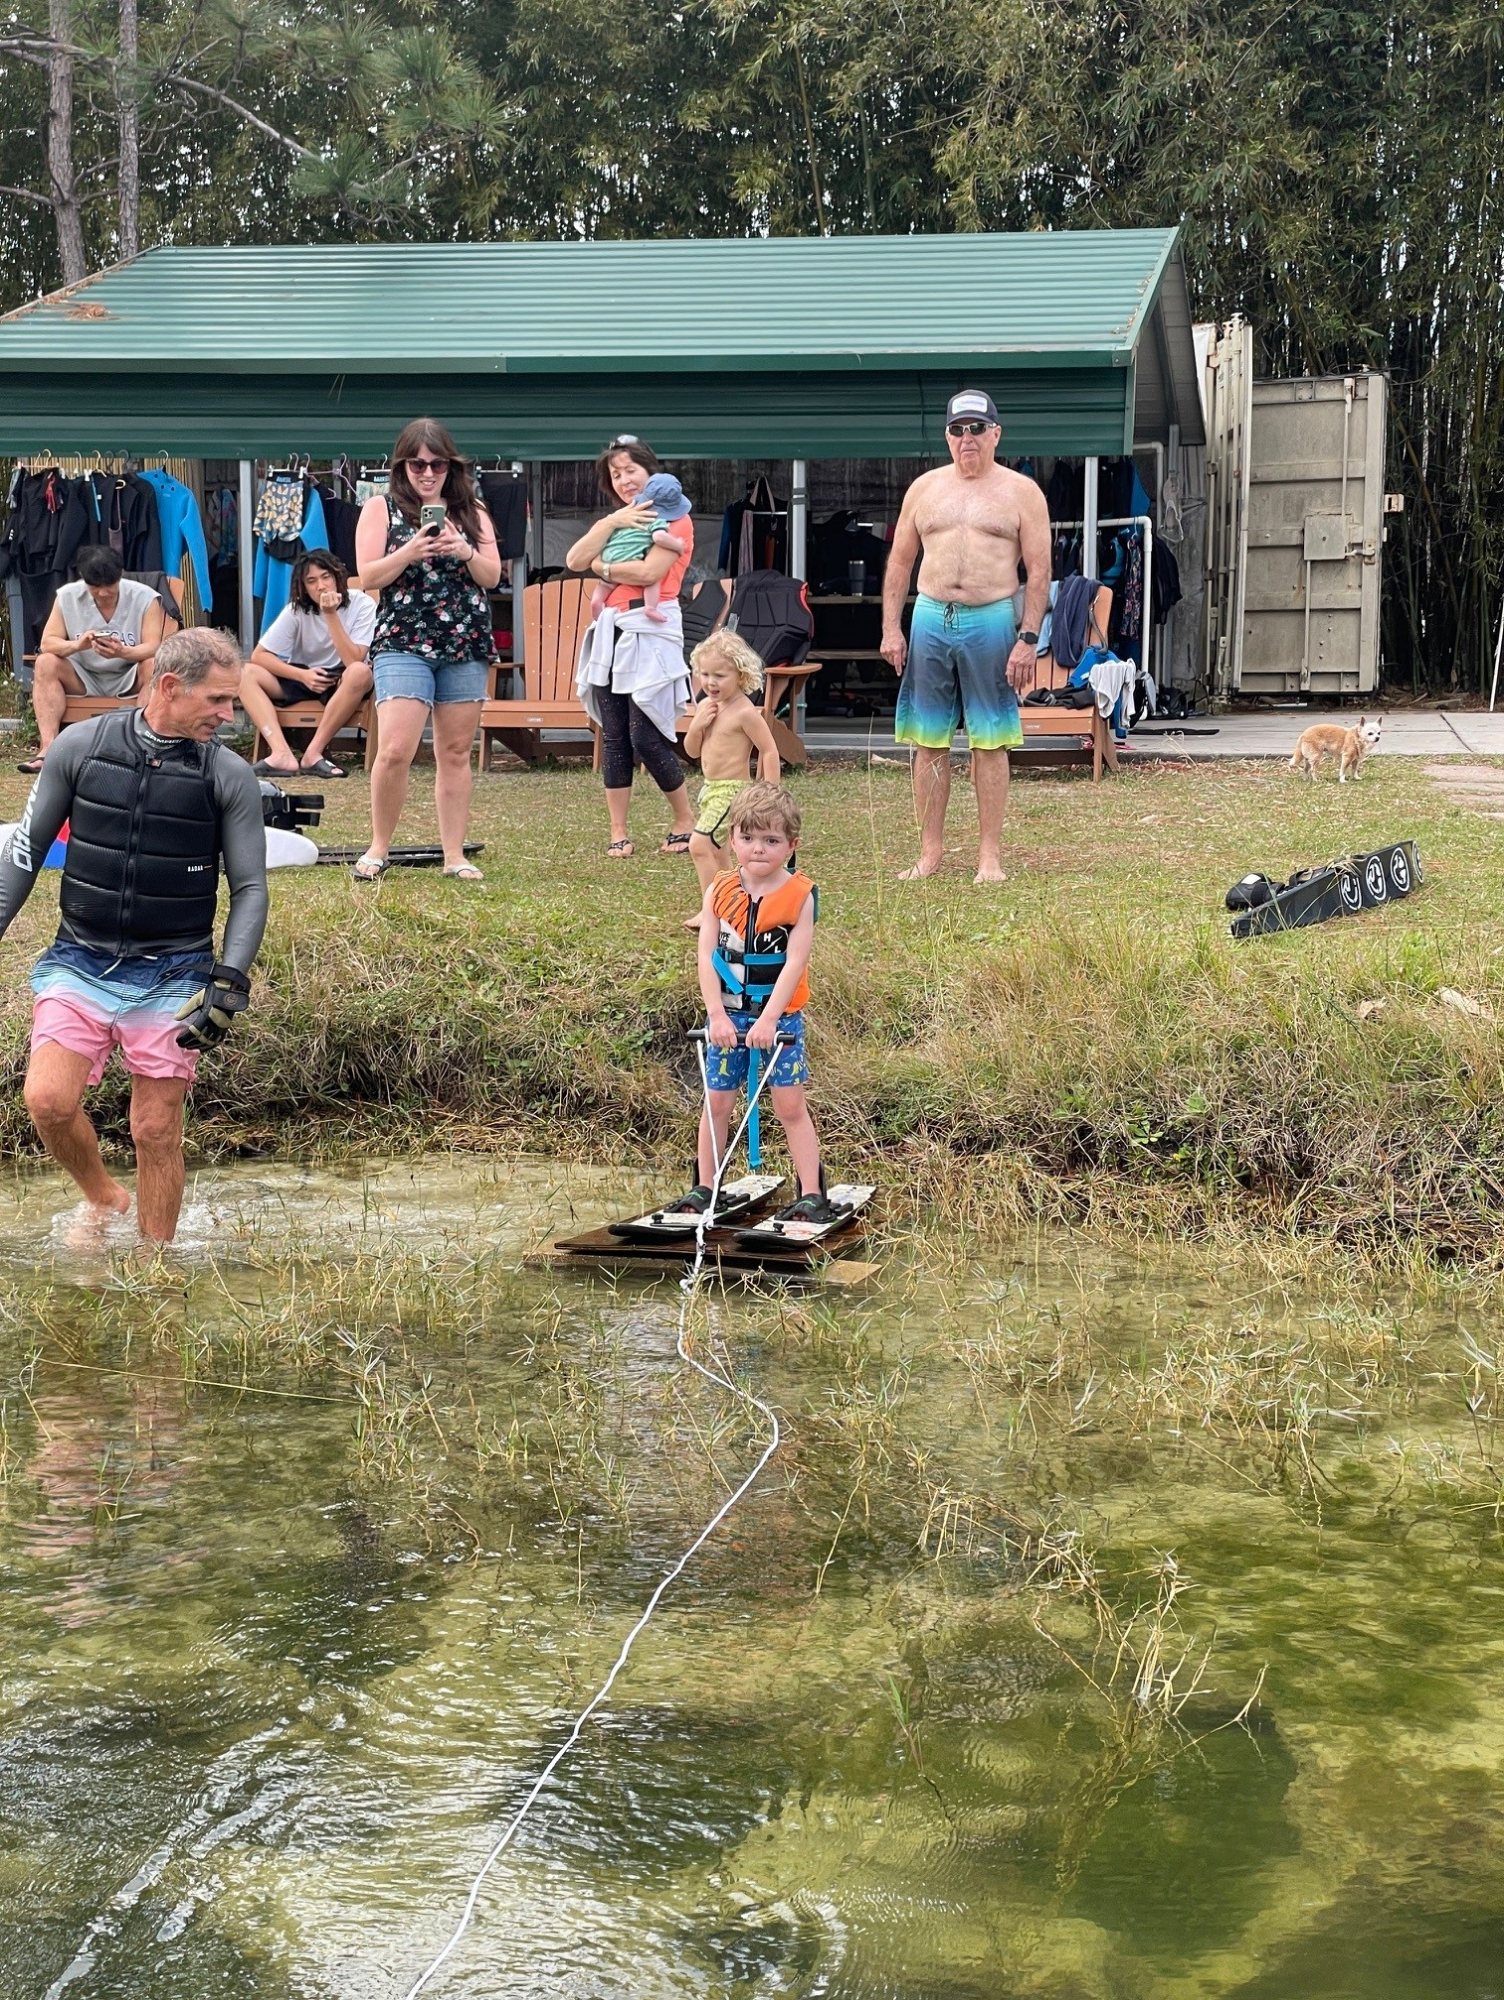
The start position is critical to your skier’s success. With the skier standing on the dock with their life jacket and skis on (fins hanging over edge of dock), face them to demonstrate the start position. Sit on the dock (in the start position) and describe verbally while simultaneously demonstrating. The key points to emphasize are:
- Skis are close together
- Tips about 3-6 inches out of the water with the Rope between the skis
- Knees bent right up into the chest. Arms out straight with knees between the arms at Shoulders level
- RELAX
Start Process
Use a handle to demonstrate the start. Tell the student that you are now going to act like the boat to pull them into a skiing position. Point out that they need to "let the boat do the work". Explain that this simply means don't pull yourself up with your arms. They must let the boat pull them; initially, slightly forward by bending at the ankle until there is pressure (weight) on the front of the skis and then up into the skiing position. Once they feel pressure on their toes, they will s-l-o-w-l-y "press" up with their legs into the skiing position. A common and useful comment is "Don't be in a hurry to stand up. Easy does it". It also helps to explain why it is so important to keep the skis close together. Explain that as soon as the skis start coming apart the water catches the inside edges and pulls them further and further apart - which usually causes a fall. If the skier keeps the skis together from the beginning, they will act as a single lifting surface.
As the skier comes up out of the water they should be concentrating on these key points:
- Keep the skis close together.
- Keep their arms out straight.
- Keep their shoulders level.
- Keep their back straight.
- Keep their knees and ankles bent. Stand up slowly.
- Go directly to the skiing position (keep knees bent).
While doing this dryland exercise, if a lot of force is needed to pull the student up the skier needs to allow the "boat" (you, the coach) to pull them to a standing position rather than resisting or leaning against it. Bending at the ankles and leaning forward slightly as the "boat" pulls will balance the skier’s weight over the skis and allow them to rise into the skiing position. If too little force is needed the skier should stand up more slowly and allow the boat to do the work.
Have the student practice the start on the dock until you are satisfied that they thoroughly understand the importance of all aspects of the process. A little extra repetition on the dock can save a lot of falls and frustration on the water.
Proper Skiing Position
When demonstrating the skiing position, the best vantage point is to have the student look at you from the side. Demonstrate and describe the following key points:
- Skis close together.
- Knees and ankles bent.
- Back straight.
- Arms straight.
- Shoulders level.
- Head up.
- Overhand grip on the handle.
During dryland practice have your students practice the "proper skiing position". Point out that balance is derived from keeping the shoulders level and the knees and ankles bent. Anytime they feel off balance their reaction should be to exaggerate the knee bend and concentrate on keeping their shoulders level. It is useful for the instructor to gently pull back and forth on the line when the skier is in skiing position. This will simulate getting pulled off balance and make the skier bend their knees to properly regain balance. Emphasize the need to keep the arms out straight. Explain that pulling with the arms will exaggerate small problems and perhaps cause a fall.
Two-Ski Deep Water Start
(It is advantageous and recommended to utilize a boom if one is available. Information on teaching with a boom follows.) Click here to view the most popular boom sold on the market today – reach out to us to see what the best fit for your boat is.
Once properly fitted with a lifejacket and with their skis on, have the skier demonstrate, on dryland, proper skiing position. Run through the start again as well to review the key points just before entering the water. When the skier is ready, help them get into the water. Explain that as they settle into the water they need to go straight into 'the start' position and assist them to get into position. This will give the skier control of the skis so that they do not float up beside them. It can be a little difficult getting the rope tightened up without the skier getting out of position. A few tips to deal with this are:
- Keep tension on the line by holding the rope and feeding it out as you go (boat must proceed slowly during this procedure).
- Talk to the skier to help them relax and to reinforce the key points they need to focus on for the start
When the line is tight you must verbally confirm that the skier is ready. A last instant reminder of - skis together, arms out straight and "don't be in a hurry to stand up" - will increase the chances of immediate success.
Instructor Assist![]()
![]()
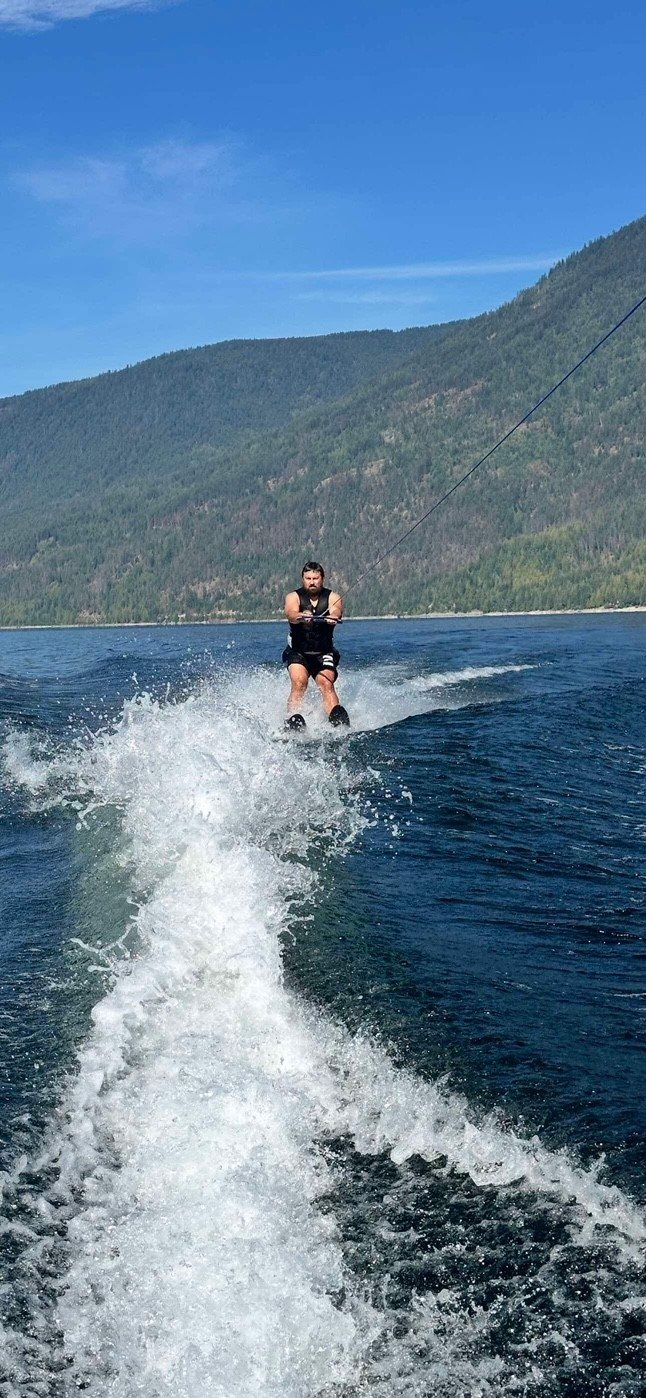
If a boom is not available and the skier is struggling to get into the start position it is helpful to have someone assist the skier in the water. Often assistance to get settled in the start position and a little support until the boat starts to go will make the difference between success and frustration.
Note to the Driver
The driver has considerable influence on the success or failure of a beginner's first start. Once the line is tight, the driver must work with the skier to add or reduce tension on the line to ensure that they are getting into and maintaining a good start position. When the skier indicates that they feel they are ready, the driver should quickly evaluate the status of the skier's position. If the driver is not satisfied that the position will work, they can call back to the skier to adjust. Immediately upon seeing the skier in a good start position, the driver will advance the throttle progressively to pull the skier up. As the skier surfaces the throttle needs to be reduced slightly to correspond with reduced drag as the skier comes out of the water.
The first lesson should not be too long. Usually three or four attempts at a start are enough. Normally the skier will get up. However, if they do not, don't wear them out and frustrate them. Let them rest and try later. The instructor will be able to tell from the skier's reactions if they are tiring even if they don't realize it. It is best to end this attempt diplomatically and let them rest. The most important thing you want them to learn at this point is the start. Once they are up, have them ski for a short time, then drop them in the water and repeat the start again. When they have successfully made two or three starts, they should be confident enough to make it consistently in the future. This should conclude the first lesson.
Be satisfied with getting the skier up during the first lesson. Often when skiers get up for the first time they get into very awkward positions. You can make attempts to have them straighten up, but if they don’t respond, do not push. The experience of being up for the first time is usually enough to absorb. You can correct the body position once they return to the dock and during their next lesson.
The Successful Lesson
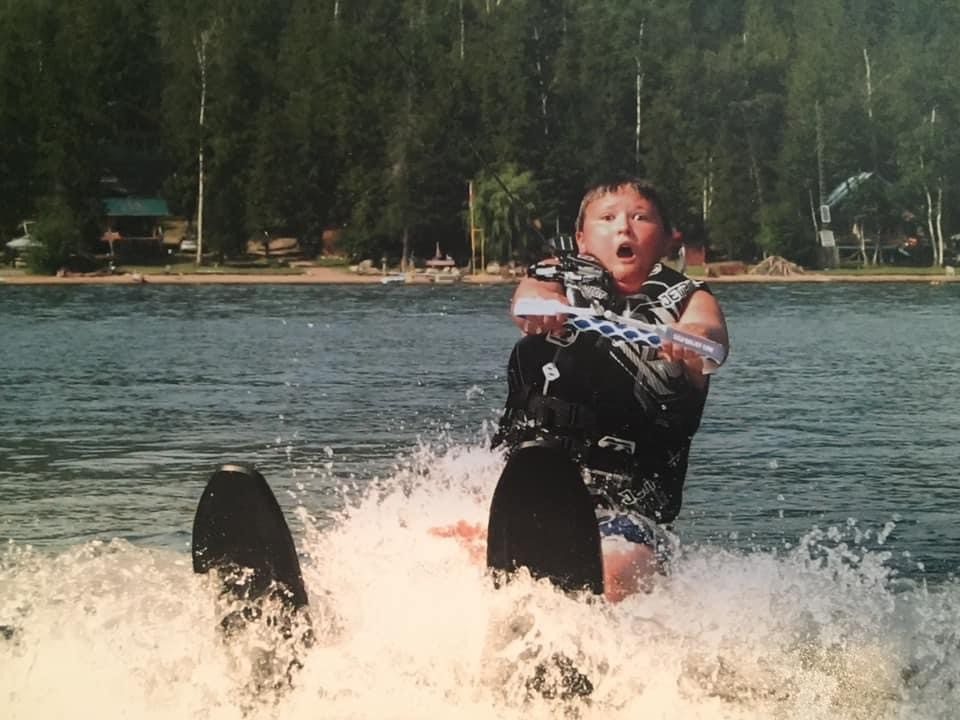
A successful lesson is one which teaches the skier and leaves them wanting to learn more. Some skiers will get right up and ski a great distance, make body position adjustments, edge back and forth and even cross
the wake on their very first lesson. Others will make two or three attempts and be fatigued. Both situations and everything in between can and should be considered a successful lesson. Every individual comes with a unique set of characteristics, circumstances and expectations. What is an incredible accomplishment to one person may be minimum expectations of another. We should not judge a person's success based on our expectations, but rather on their degree of satisfaction.
Teaching Using a Boom
The use of a boom is strongly recommended for first timers on two-ski starts and one-ski starts. The boom offers several benefits to make the learning process easier and more enjoyable.
- The instructor can talk to the student to reinforce instructions and make corrections. The boom offers some upward lift which supports the skier.
- The fixed bar makes it easy for skier to make adjustments to get balanced in order to feel the right position with few if any falls.
- The boom allows the instructor to use three steps to build a skier's confidence (on the bar, 1.5 metre extension (5 behind boat).
Boom Installation - proper installation is critical to the safety, comfort and success of the skier
- Ski booms are recommended primarily for use on competition ski boats.
- Most booms have two sections that connect to each other.
- The first section connects to the boat tow pylon and the second connects to the end of the first. The support cables attach to the front eye ring just under the bow of the boat.
- After installation, make sure all connecting hardware is in proper working order with the support cables adjusted to be tight going to the front of the boat.
- If your boom has a height adjustment (usually on the pylon), make sure it is fitted properly to each student. (i.e. end of boom is about chest height on the skier when the boat is planning).
Step 1 - Ski Boom — Two-ski water start
- Assist the skier in putting their skis on. This is usually done on the ski platform at the back of the ski boat.
- Help the skier into the water.
- After the skier has regained balance in the water with aid from the instructor at the side of the boat, slowly assist the skier to the proper portion of the boom.
- Once the skier is in the proper start position, the boat driver can idle the boat in a small circle to help the skier balance with the skis, get comfortable and get the feel of motion.
- Let the skier know when the boat driver is going to accelerate and remind them to stay in the start position.
- As the skier's skis begin to plane on top of the water the instructor should tell the skier to bend at the ankles to put weight on their toes and then begin to stand up slowly. Because of the proximity, give verbal reminders throughout the process. These could include: "arms out straight", "knees bent", "skis together", "shoulders level, look straight ahead".
- Once on top of the water, offer encouragement and praise to relax the student.
- Once stable on top of the water, talk to the skier to ensure proper skiing position.
- Have the driver slowly sink the skier back into the water. The skier should be instructed to sit back down into the start position as the boat slows down.
- Practice this start and skiing position until the skier appears solid, in control and confident.
Step 2 - Ski Boom with 1.5 metre (5') Handle
- Loop a 1.5 metre (5') handle onto the end of the boom.
- Have the skier set up in the start position using the handle attached to the boom.
- Talk the skier through the start, reinforcing key points and making corrections.
- Do at least two or three starts and work with the skier to establish a solid skiing position.
NOTE: Some boats/boom setups make it somewhat awkward to work on the 1.5 metre (5') extension due to spray from the boat. If a skier is finding it difficult/awkward on the extension, skip this step and go on to step 3, behind the boat. With experience a coach will be able to evaluate this situation quickly to avoid frustration by students.
Step 3 - Deep water start behind boat on the rope.
The skier's and the instructor's expectations can be higher with the use of a boom. At the end of the first lesson, it is typical for a skier to be very solid with the two ski start and have achieved good skiing position. It is not uncommon for first timers to cross both wakes during their first lesson.
Common Problems — Detection and Correction - Two Ski Deep Water Start
|
Symptom |
Cause |
Correction |
|
Fall forward |
|
|
|
Fall to the side |
|
|
|
Fall backwards |
|
|
|
Unstable |
|
|
.jpg)
Teaching Youngsters
There is no one who appreciates the excitement of water skiing more than a child. Once they have gained confidence, kids are quick learners who are not satisfied to just ski around. They want to try new things. Giving them this confidence is the key to their success in learning to ski and enjoying the sport. Teaching a child to ski can be a touchy procedure. Before children will successfully ski, they must want to do it. Do not push them into it. Let them play with the skis on shore and in the water. Let them watch other children ski. Mention how easy it is and how much fun it is.
The first time a youngster tries water skiing make sure you have picked a day with good conditions calm water with warm water and air. Youngsters must be comfortable, or they will be reluctant from the start. A child without desire will not pay attention nor respond to your instructions. The child's attitude is the key to their success.
Do not attempt to teach a small child to ski without proper equipment that is designed specifically for children. Skis and/or a life jacket that are too big will make the experience much more difficult, frustrating and potentially dangerous.
If you have a child who is keen and well prepared, they will have a lot of fun. The excitement of a child learning to ski for the first time will create memories that last a long time.
The teaching process for a child is the same as for anyone else. However, it is strongly recommended that you use a boom. The proximity to the instructor and the 'baby steps' process that the boom provides will increase your ability to build and maintain the child's confidence. Don't push the child to do all three steps (on the bar, 5' extension, behind the boat). Take one step at a time. Some children may ski on the bar for several lessons before moving on. Others will race right through the process. Work at their pace.
When working with children, try to keep your instructions simple and clear. Too much at a time will confuse children. You are better to give a little at a time and be repetitive. There is no such thing as too much positive reinforcement when working with children. Your job here is to keep the young slder in the right frame of mind.
For skiers under 100 pounds there are typically 3 sizes as possibilities.
What we refer to as Trainers skis are typically 45 to 48 inches long and work for skiers up to abut 70 pounds. The trainer skis come with a removeable bar across the front of the skis and a removeable trap at the tail. They also come with a rope that can be attached directly to the skis and allow towing of the skis. This has challenges attached to it so please discuss those with us before attaching the rope to the skis
https://www.shuswapsnb.com/Connelly-Cadet-Trainers-w-Bar-%26-Rope-COCADET-587/
The next size up are around 55 inches long but wider, they are targeted to skiers in the 60 to 120 pound range, as a pair of skis. We refer to these as wide style youth combo skis. Their added width can be quite helpful when skiers are learning to get up out of the water on one ski and with just one ski the maximum weight will be around 100 pounds. These usually come with a removeable bar across the front of the skis.
https://www.shuswapsnb.com/Connelly-Super-Sport-55%22-Youth-Ski-Pair-W-Bar-COSUPSP-54-14545/
The next size up are from 58 to 61 inches long and more of a standard width, they are also targeted to skiers in the 60 to 130 pound range, as a pair of skis. We refer to these as youth combo skis. Their narrower width makes them better for skiing on just one ski and with just one ski the maximum weight will be up to about 110 pounds, depending on their length and width. These usually come with a removeable bar across the front of the skis.
https://www.shuswapsnb.com/HO-Excel-59%22-HS-JR-Combo-Skis-HOEXCEL-59-580/
These are the top level of the youth pair choices, with an upgraded binding, which allows for better control of the skis, especially helpful when using just one ski.
https://www.shuswapsnb.com/HO-Burner-Combo-Youth-w-Blaze-61-HOBURCOM-61-20699/
Crossing the Wake
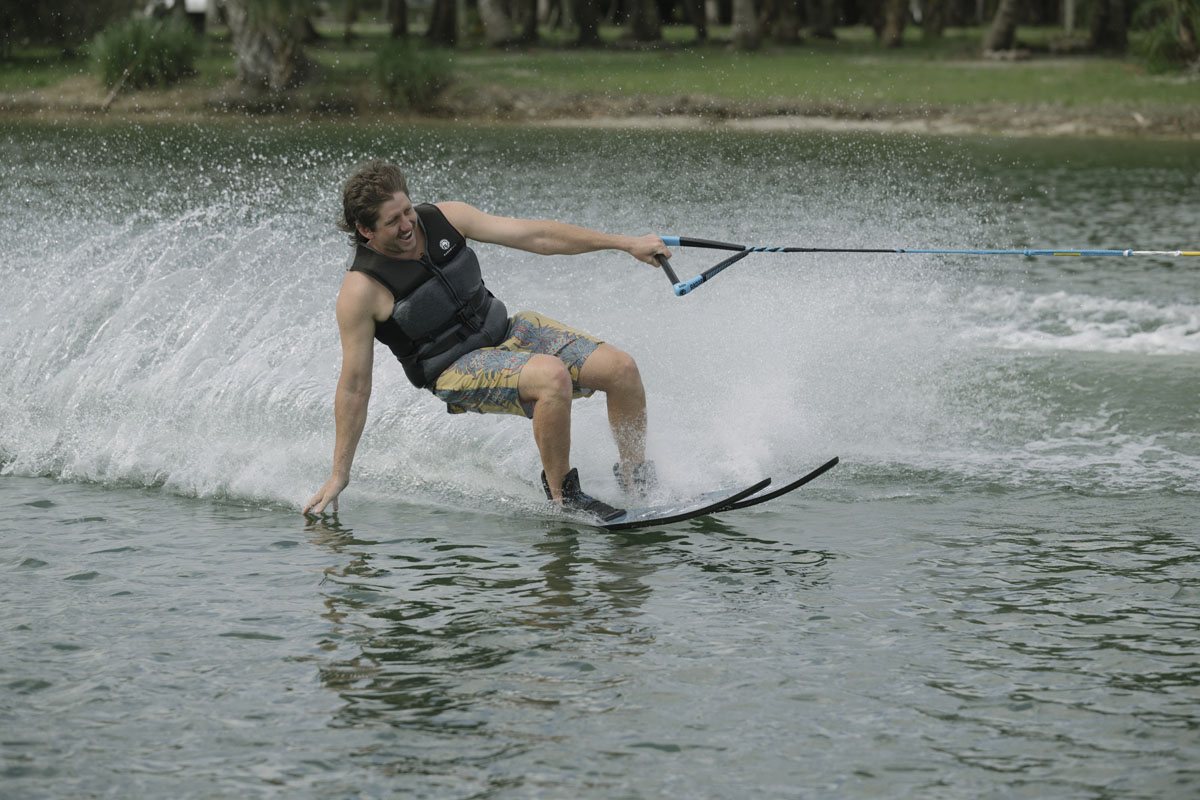
Before teaching skiers to cross the wake have them edge back and forth between the wakes to get the feel of changing direction and edging before attempting to cross the wake. This is accomplished by having them bend the knees and ankles and lean slightly in the direction they want to go. Explain that when crossing the wakes keeping the skis on edge/angle will make it easier. Approaching with too little angle (parallel to the wake) will cause the skier to catch an edge and perhaps fall. A slight "run" at the wake will generate momentum to carry the skier up over the crest of the wake without needing excessive lean. Key points to tell the skier include:
- Keep the skis close together.
- Concentrate on maintaining proper body position.
 Absorb with the knees. Demonstrate the shock absorber action of the knees.
Coach/Driver Assists
Be sure that the boat is balanced properly to keep the wakes 'clean' and 'crisp'. A sloppy wake with lots of wash will increase the chance of catching a ski. Also pay attention to the boat speed as it will also affect the shape of the wakes. If a skier has a good position and is clearly ready to cross the wakes but is hesitant due to confidence, you can cheat for them a little by turning the boat slowly in the direction of the wake that the skier will go over. This will round out the wake, eliminating the crest. After succeeding this way, the skier should have the confidence to edge through the normal wake.
Stopping When Finished Skiing
When a beginner skier is finished their run, it is best to have them drop in the open water and climb into the boat to go back to shore. Be sure that your skier is familiar with the "cut the engine" signal. When at the appropriate drop area, give the skier the signal that you are going to cut the engine. Stopping is easy. The skier simply let’s go of the rope and sinks into the water. Before letting go, the skier should establish a neutral balanced position. Upon letting go of the handle, the skier should sit on the back of the skis as they sink into the water. Once the skier has settled into the water, idle around to pick them up. Be sure that the engine is shut off before the skier climbs aboard.
Once a skier is competent and confident a more practical method to drop them is to have them cross over the wake and edge toward shore. While at a safe gliding distance from shore the skier releases the handle and sinks into the water. It is the driver's responsibility to maintain a safe distance from shore and a safe speed that will not allow the skier to overshoot and glide right into shore. It's better to err on the safe side by going a little too slow, thereby avoiding a potentially unsafe situation.
A SKIER SHOULD NEVER SKI STRAIGHT TOWARD A DOCK, SHORE OR OTHER OBJECT. AS THE COACH AND DRIVER IT IS YOUR RESPONSIBILITY TO ENSURE A SAFE EXPERIENCE FOR ALL
Hope this helps :) Have fun out there!
Shuswap Ski & Board
